
This project was out of my comfort zone but ended up being one of my favourites yet. Who would have thought a sewing machine could be fun ha!
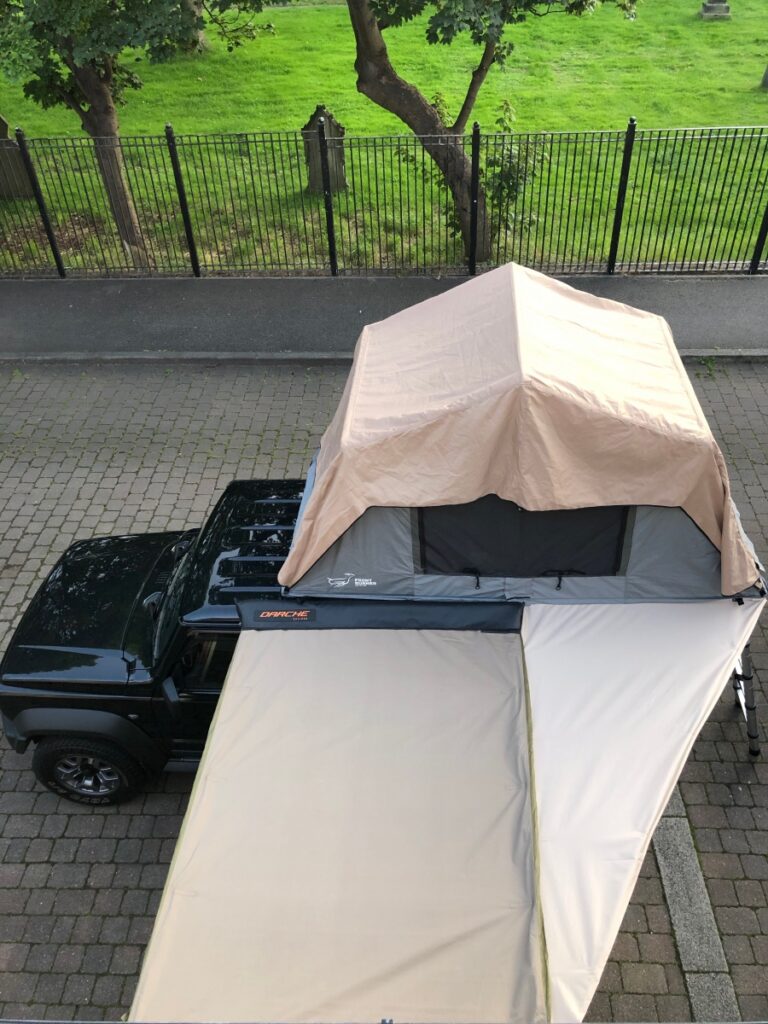
The idea was to create a detachable extension that runs along the side of the 1.4m Darche Eclipse Awning, then attached to the side of the Front Runner roof tent that overhangs the rear of the Jimny. Creating additional coverage when moving from side of the Jimny to the rear. Similar to a bat wing awning.
I needed to source a few things to wrap this project up…
Material
The first step was finding the right waterproof material. Something strong and durable that matches the colour of the awning or tent fly. It proved to be quite easy to source the material on ukfabricsonline.com however colour matching as you’d expect isn’t as straight forward.
The Darche awning is a beige/khaki colour and the 2 colours I’ve ordered so far are the khaki and the beige. As you’ll see from the photo below there’s a significant difference between them. While it’s not a perfect match the beige is closer to colour of the tent fly and awning, so that’s the one I’ll run with for now.

Sewing Machine
The next bit of kit needed was a sewing machine. My wife was wanting one anyway so it wasn’t technically an extra expense (that’s my excuse and I’m sticking to it). We bought a Singer Tradition sewing machine as shown below.

Supporting structure
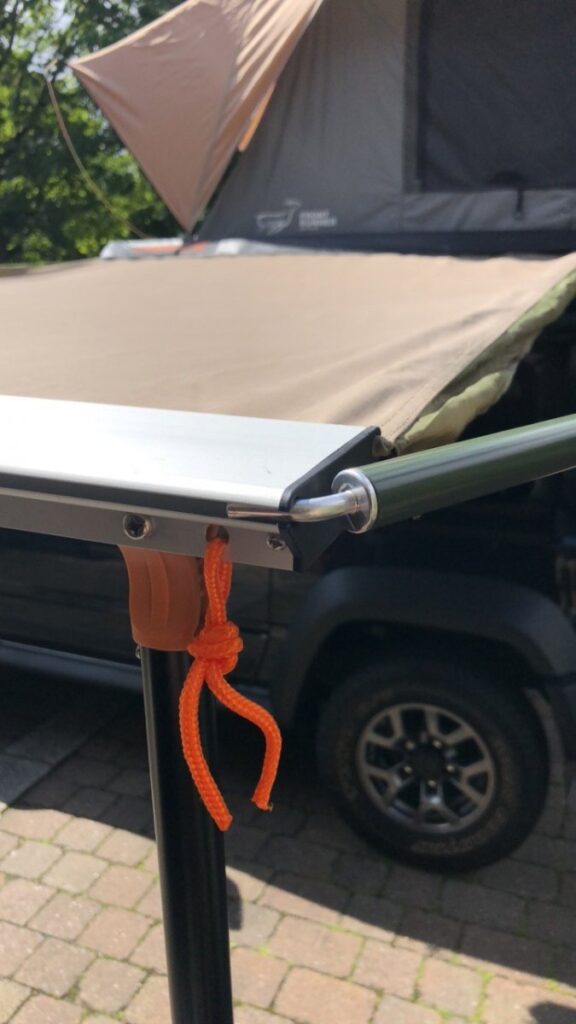
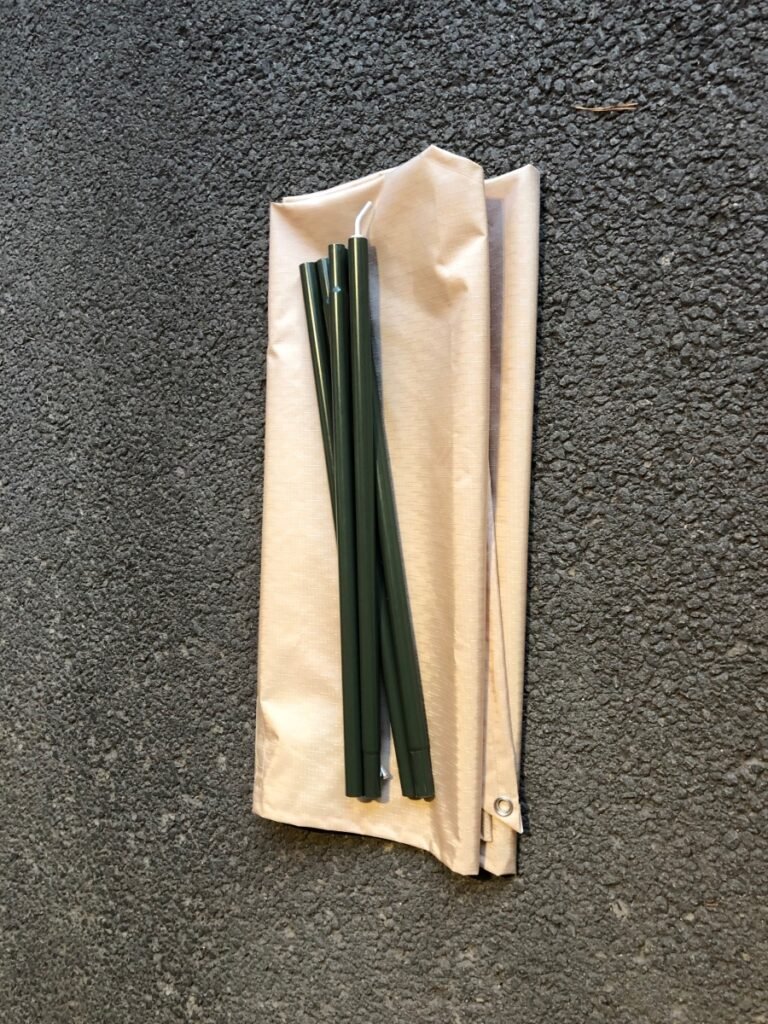
The outer part of the awning that isn’t attached to the Darche Awning or the side of the tent will need to be supported somehow. I decided to use some tarp poles I had for when we go hammock camping. Modifying the 2 poles into one single length of approx 2.4m using some longer shock cord elastic. It also meant that I could use both of the spiked ends to slot into the channels onthe tent and awning. This saved any modification which is always nice.

Velcro
The last item needed was some velcro to attach the longer 2m side to the Darche awning pole and the outer support pole. Colour matching proved difficult again but it doesn’t really matter in the grand scheme of things.

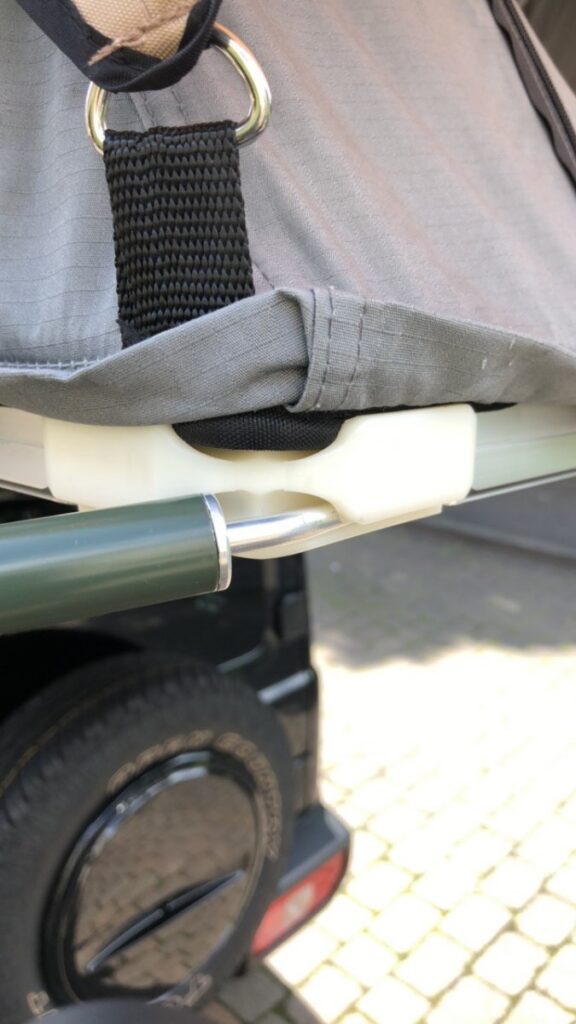
Fish Tank Plastic Air Tube
Eh?
Yeah not what I expected either but this was the key to fitting the extension to the Front Runner tent.
You’ll notice the circular channels (maybe they have a proper name?) on any tent or awning you buy that and it’s this method that you use to attach additional parts you buy from the manufacturer. E.g. awning walls, tent shower skirts, etc.
I simply made sure there was a wide enough hem to slot the right sized plastic air tube into it, then use this as the method of slotting in the awning. Worked a treat.

Cutting & sewing
Cutting the shape was easy enough, just measure the length of the tent and you ought to already know the length of the awning (most are 2 to 2.5m).
Thankfully, my mother gave me a tutorial of how to use the sewing machine, I would have been lost without it. Even the concept of of a hem was lost on me.
After a bunch of tests on scrap cloth and many wonky lines later I’d got the basic gist of it. I’ve always ran with the sod it, let’s give it a try approach to making things and perfection isn’t on the agenda.
As it turns out, sewing ripstop fabric isn’t without its challenges and I probably needed a more powerful sewing machine especially for attaching the velcro strips. However, it came together after a few tries.
Here’s a few pictures taken while I was working through.
Final Result
Time for the final test fit and to hope I got my velcro placement right.
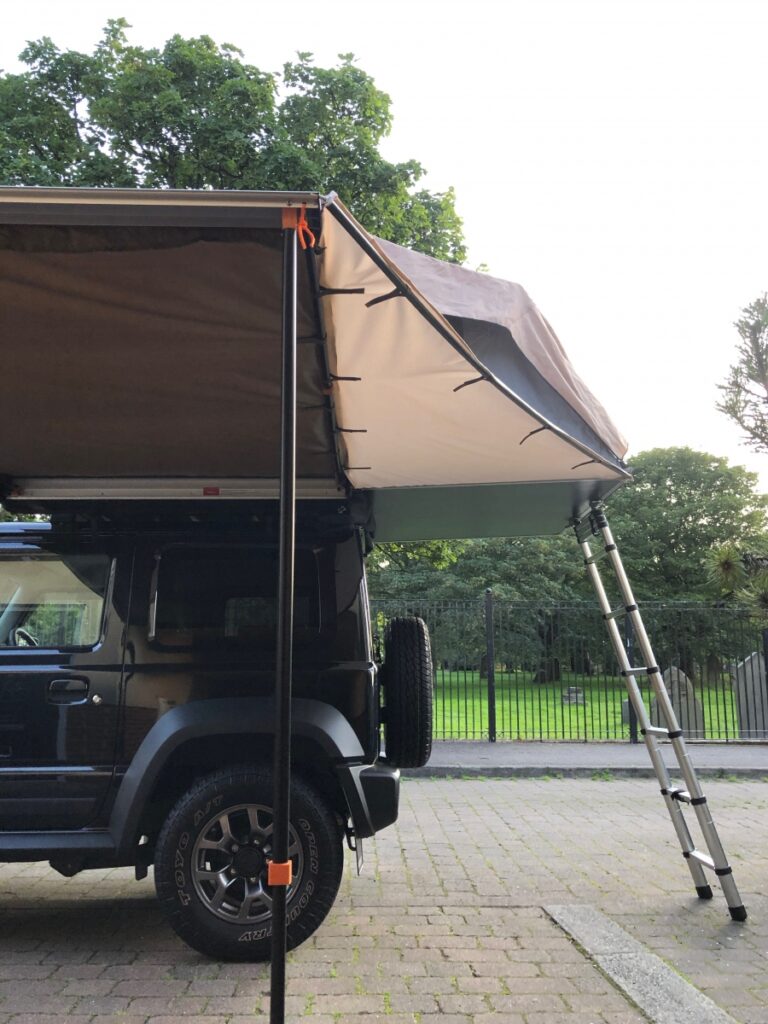
The velcro on the side that connects to the Darche awning pole could have done with being a bit longer but they’ll do for now. I’ll see how it all holds up with regular use before I changing and adapt it.
The acid test is… will it work? Will it piss water in between the main awning and the extension? Well, here’s a quick video of it in action!
Got to admit I never expected it to work and it’s surprising how much the extension helps expand shelter when there’s just the two of you under a small 1.4m awning.
With the addition of the Darche awning wall angled down to the front of the Jimny our shelter will be more than adequate for the rainy UK weather.
I really enjoyed this project and it’s got me thinking about other things to knock up with the sewing machine.
UPDATE:
I’ve remade the awning extension out of the same material as the Darche awning.


This is awesome. Planning to do the same on my landy. Nice!
Cheers Fraser, give me a shout if you need any further details when you make your own. Happy to help 🙂
Hi,
great job, as so often very inspiring.
The bar for attaching an awning is called a “welt” bar.
Do you happen to know the diameter of the used fish tank air tube?
best regards
Hi Max, Ahh a Welt bar! Live and learn.
As for the tubing it’s 5mm thick. This is the exact one I got https://www.petsathome.com/shop/en/pets/standard-airline-tube-18m
Cheers
Paul