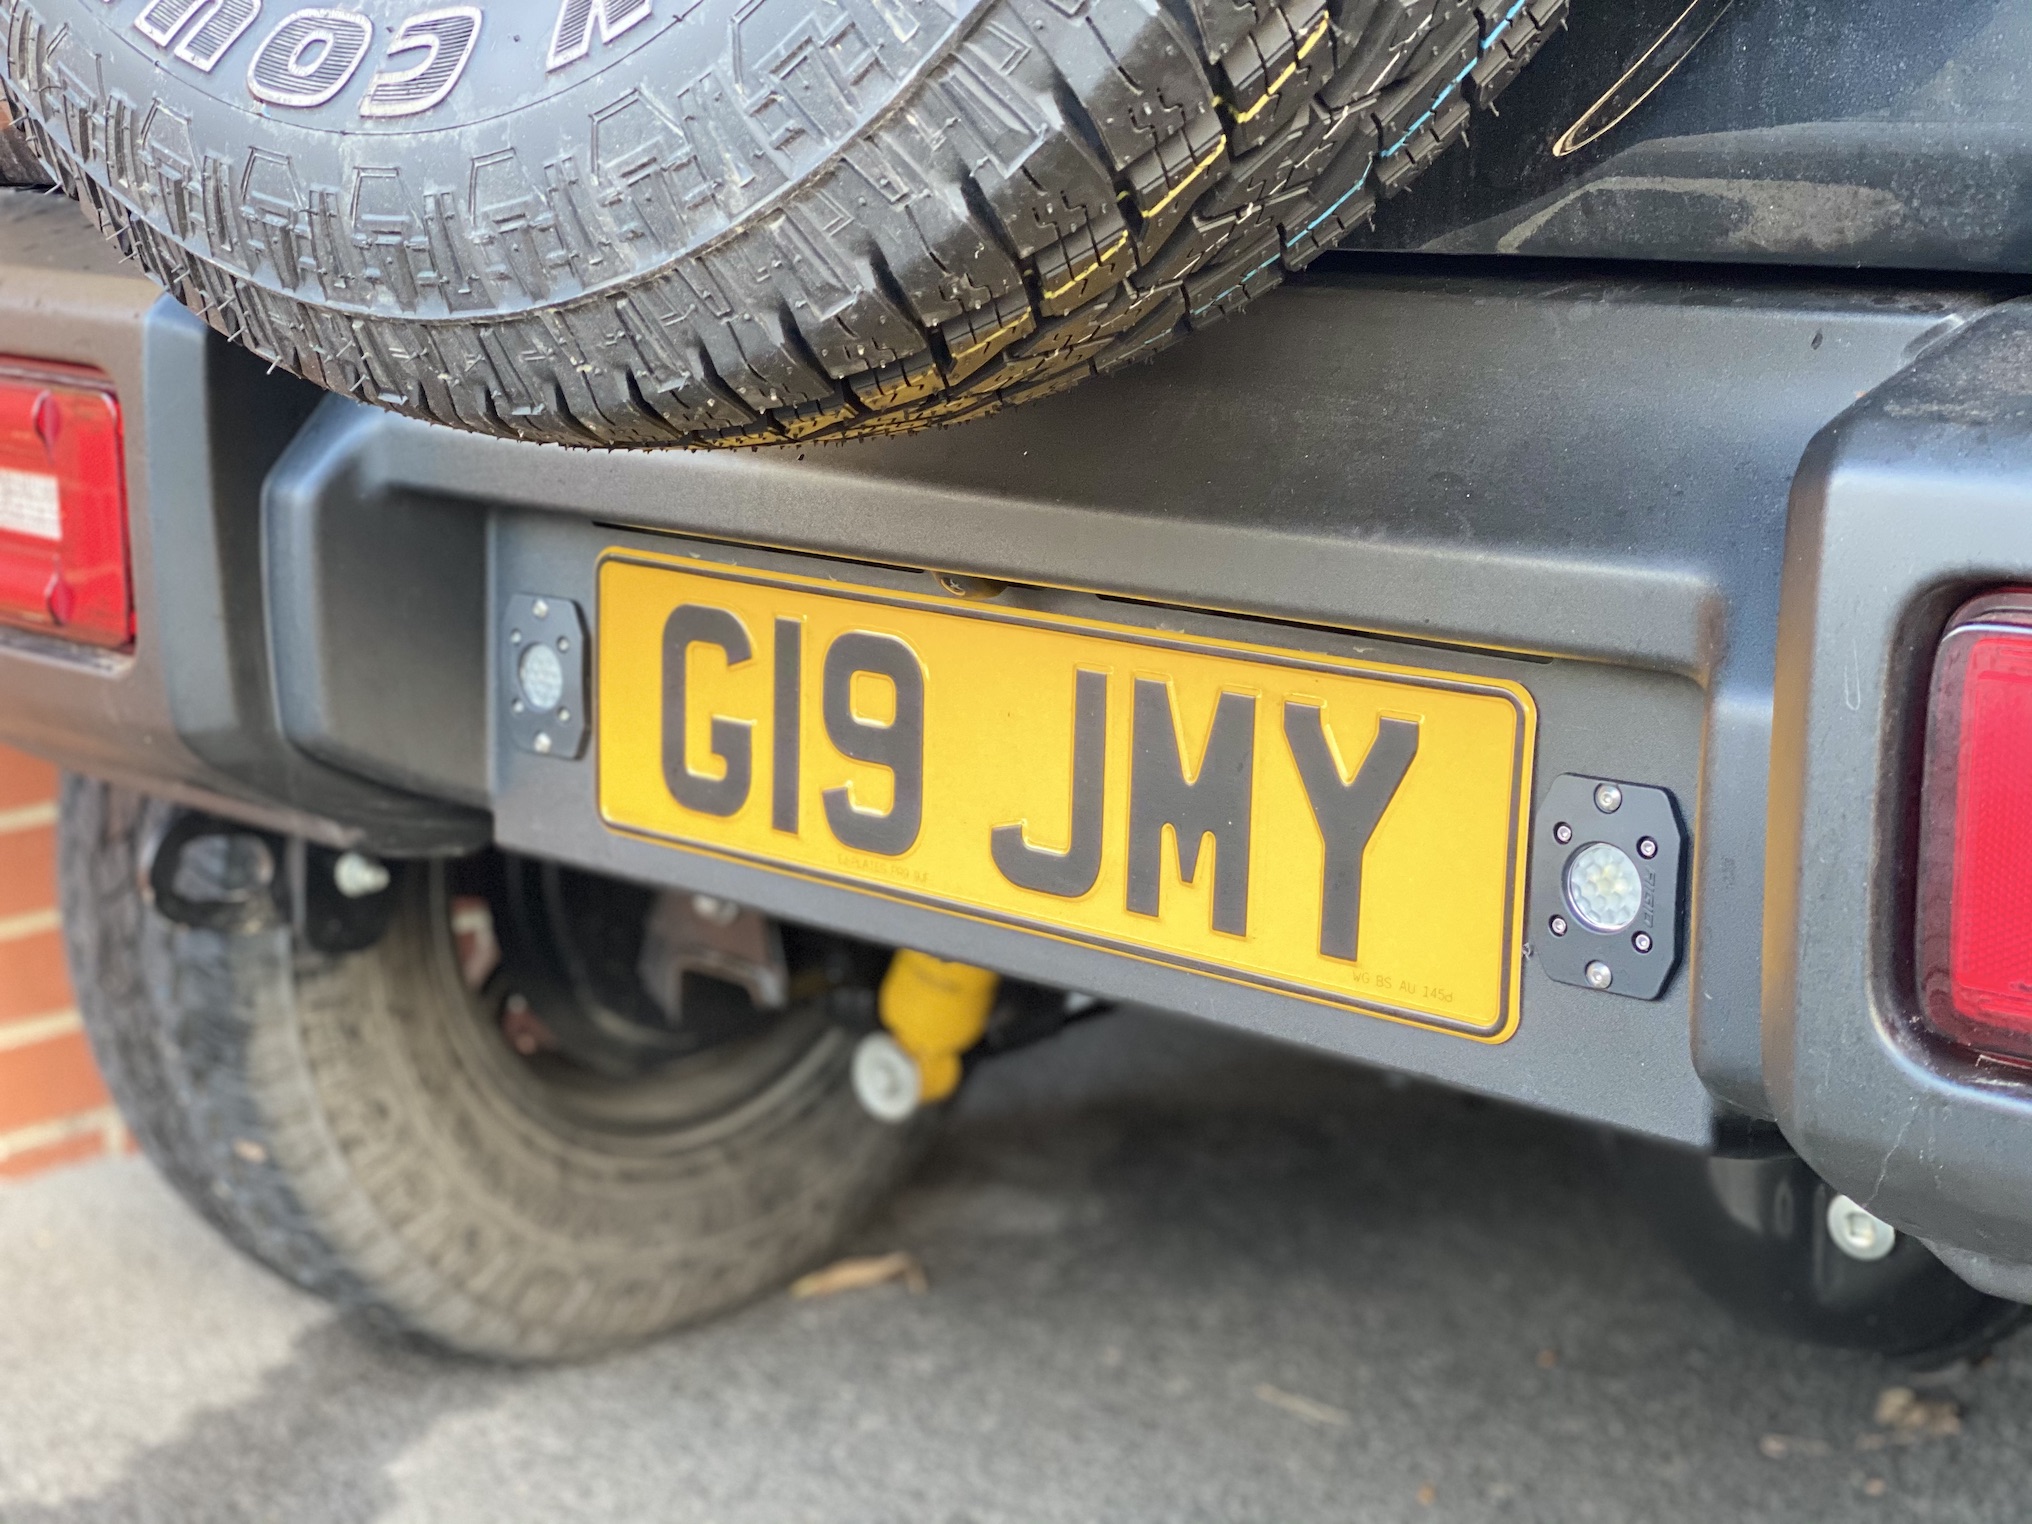
On the JB74 model variants the rear windows are tinted. Tinted windows and dark surroundings equals poor visibility.
I particularly notice it when camping when any adjustments to the position of the car are needed. Even under dim street lights it can be difficult to see where you’re going. The reverse camera helps, especially when reversing off our driveway. However my wife and I still twist around and look back, maybe from habit I guess, using a combination of looking at the camera and out the back window.
I’ve been trying to source an easy DIY solution for quite some time. Anything electrics based is really not my comfort zone. Then noticed a post from Rigid Industries Shop UK.
Let’s get some house keeping out of the way first!
I’ve no affiliation with any company mentioned in this article. No endorsements are to be assumed. I’m a customer just like you, no payments or discounts.
I also cannot claim to be offering professional advice on how these products are fitted. I’m just winging it.
Please note that I have a narrow licence plate fitted, these lights will not fit if you have the normal width UK reg plate.
Buzz Special Vehicles have been working on @hellayella_rubicon_adventures Jimny and shared a photo of the exact solution I needed.
I ordered the IGNITE BACK UP KIT; FM and they arrived a few days later on the 23rd of December. If I had half a brain I would have used the coupon code from Tony & Aneta @modified_jeeps_uk to get 15% off. But I forgot… anyhow their 15% off code is MJUK15.
Fitting
The best way to overcome any worries about whether I’ll arse up the wiring is to fit the lights, then you’ve no choice than to figure it out.
Suzuki have done us a solid here and their bumpers are quick to remove.
The first step is to locate the small casing on the passenger side light fitting. You don’t need to remove the screws just pop it open.

Next unclip the 2 connectors. Whoever designed these plastic connectors is pure evil. They aren’t easy to unclip but bad language seems to help.

Then remove a bunch of bolts and minutes later the bumper is ready to slide off.
Drilling the holes
If there’s a part of any project I’ll mess up it’s cutting/drilling holes. After a quick chat with myself cock sure self, I measured and marked the centre point for each light. The lights come with a template for the hole saw diameter as seen below.

Apologies I didn’t photograph this part but the measurements I used are 70mm down and 34mm in from both sides. Your requirements may vary.

I would have preferred to use a drill without a wobbly chuck as the hole was cutting it close to leave enough play for the bolt holes but it worked out ok. If I had an oscillating multi tool I would have cut a hole with more room for the bolt holes instead of the circle.


Wiring
I’ve got this gremlin in my head when it comes to electrics, not sure why? 🙂
It was actually really easy. There’s only 2 wires and all you have to do is look at the wires coming from the reverse light and match up the red/black to the correct colours on the OEM wiring loom.
I extended the wire of the far left light so it could be cabled tied to the existing wiring and reach the reverse light wiring on the other side. Then connected the other light to it.

After exposing the wires of the OEM harness,. The red wire from the Rigid lights goes to the darker brown wire on the OEM harness. Black goes to black.

I exposed the wires around 15cm in, you can just see here where the T connector ended up below.
Lastly, I added insulating tape longer than Rapunzel’s hair and cabled tied it to the existing wiring. Job done!


Result
Well it’s fair to say it’s bright…

Reminds me of that old game I used to play in the arcades. It cost an arm and a leg to play the damn thing.
![After Burner II Longplay (Arcade) [60 FPS] - YouTube](https://i.ytimg.com/vi/65weTx0haog/maxresdefault.jpg)
Here’s a short video I put together on Instagram to help you decide if it’s something you would like to do on your Jimny too.
As always I hope the blogs help.


Yep, we read it 🙂
Thanks, the rear lights could use some upgrade for sure 🙂
????⭐️
😀
I just installed some of these lights in my JB74. Epic output. Its like daylight in the reversing camera now..and tint is blown away. Thanks for the detailed guide..
Greetings from The Philippines to Tyneside.
Greetings and glad it helps.
Hi can I ask what was the dimensions of the finished number plate having been shortened. Any issues with passing an MOT ?
Hi mate, 42cm x 11cm. No issues passing MOT 🙂
Thank you, that’s great news.