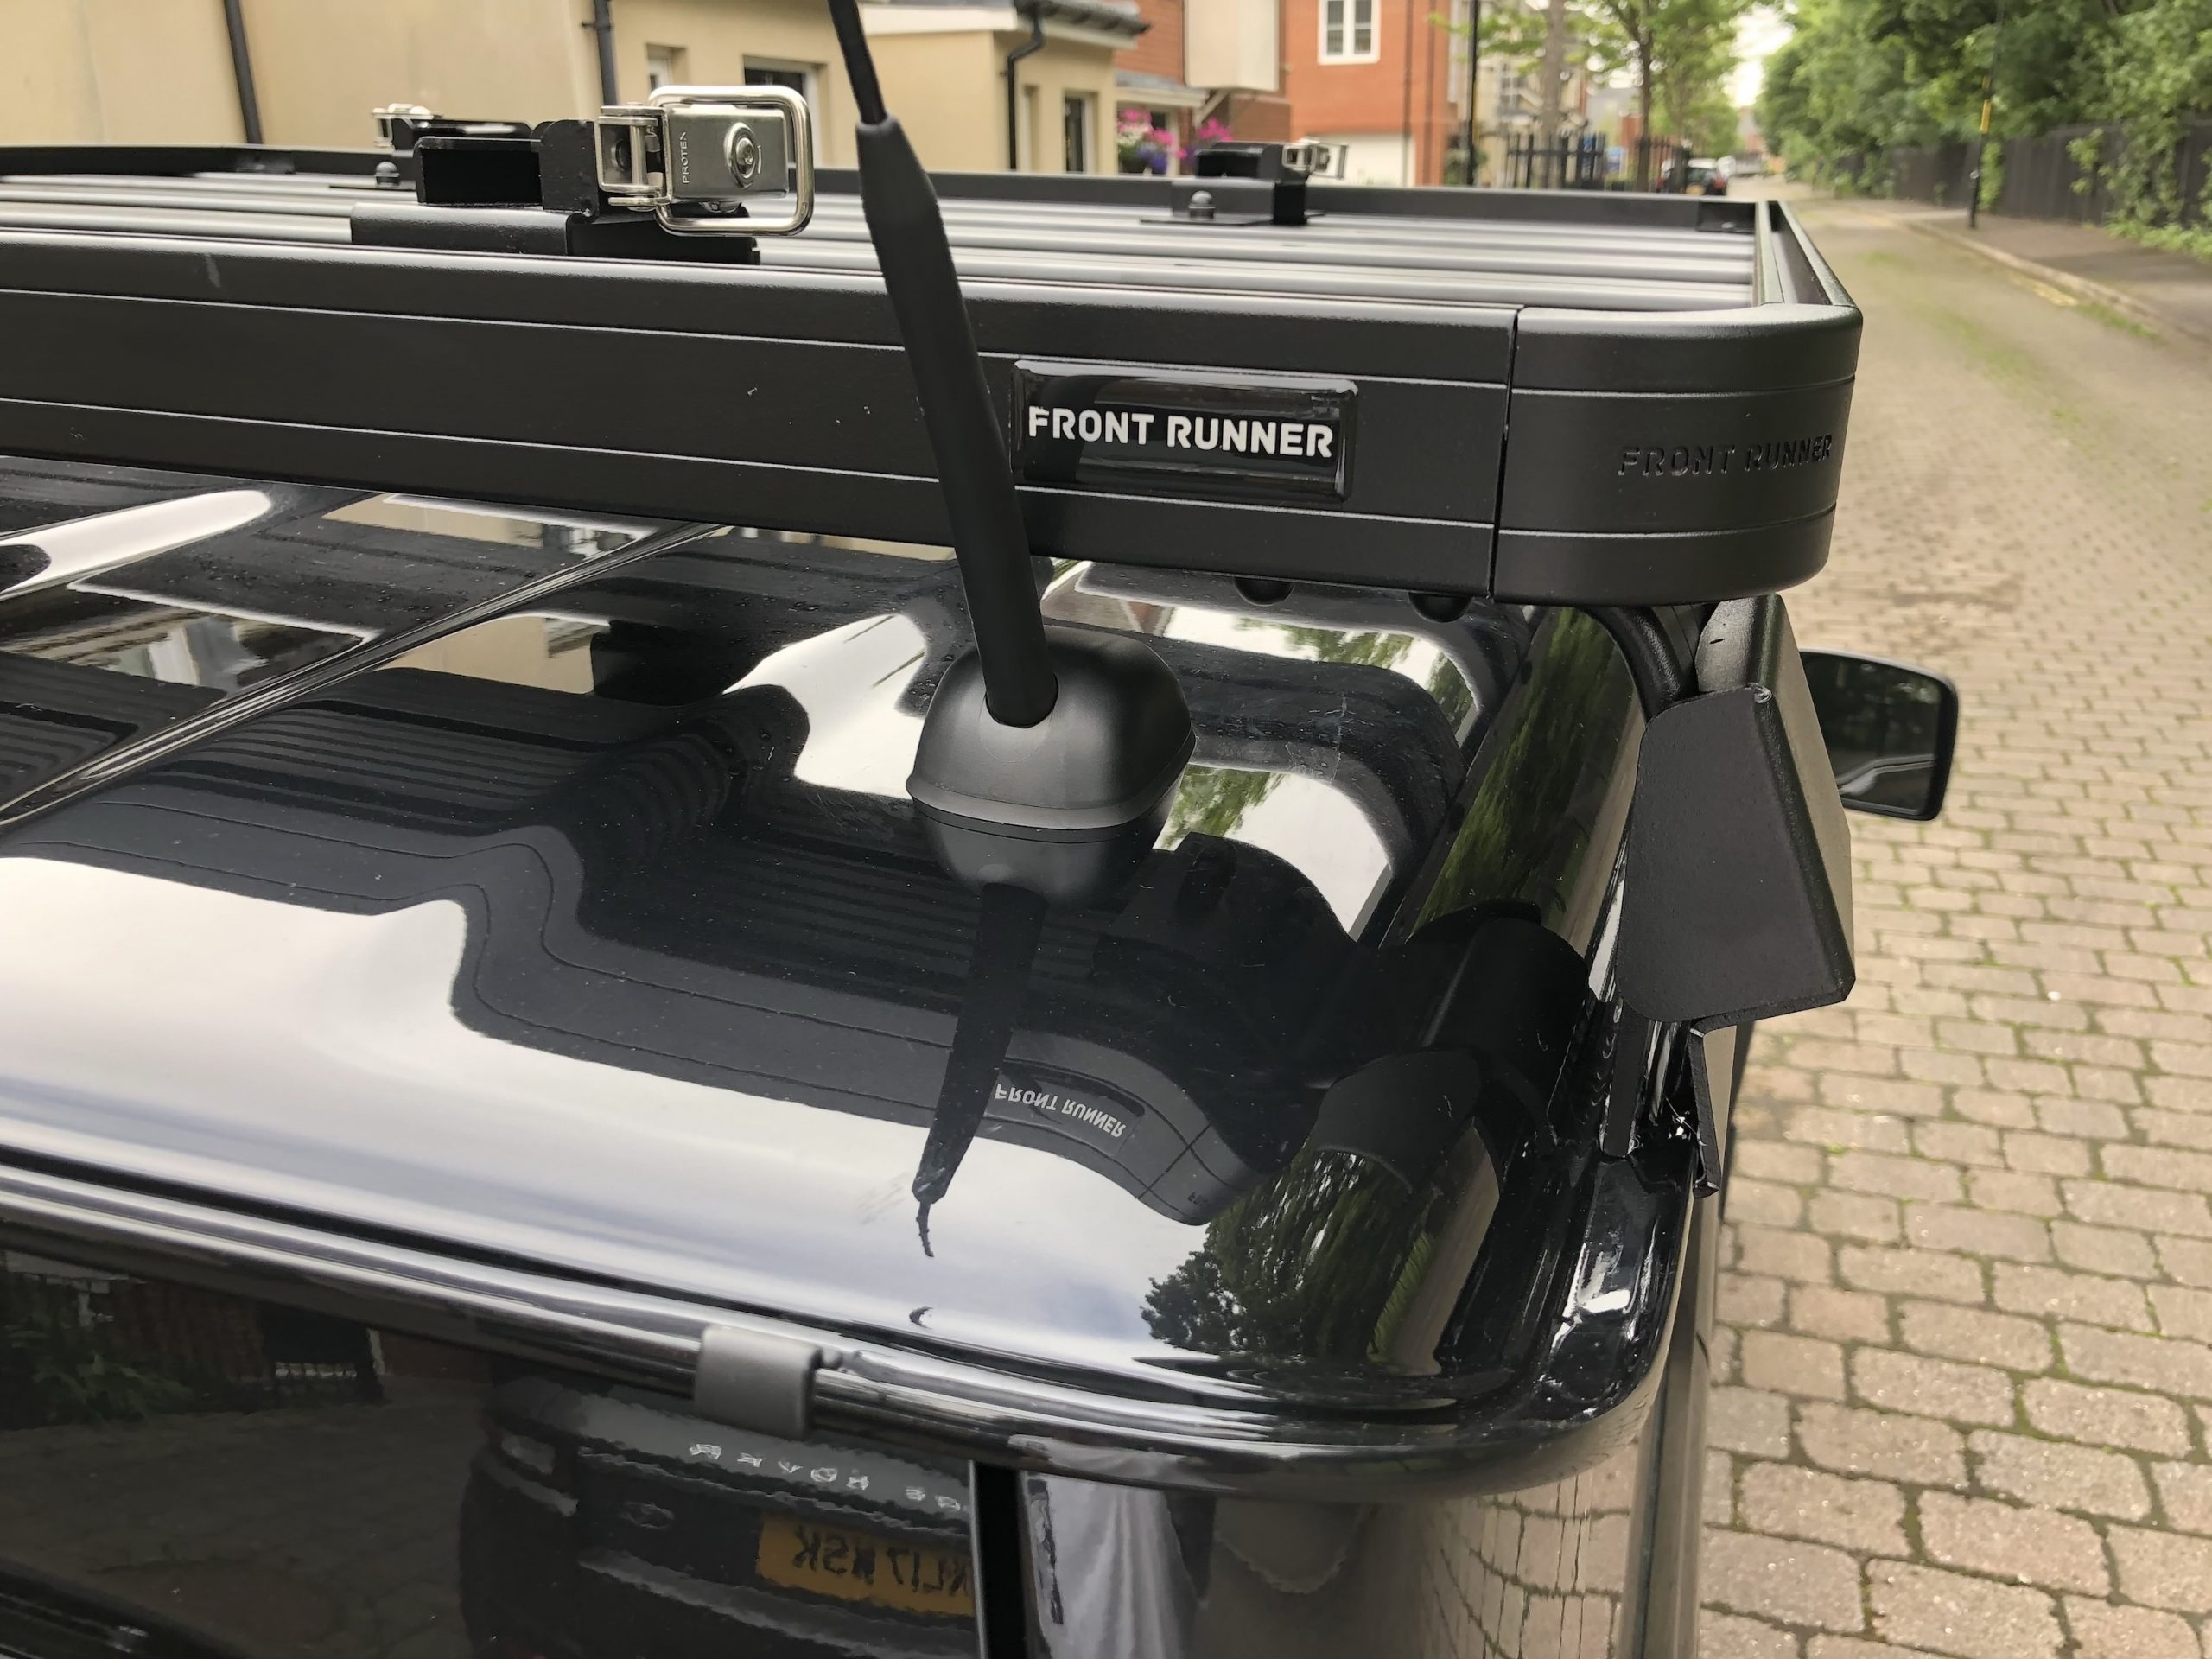
We decided to go for the Front Runner Slimline 3/4 rack. The reason we did not go for the full sized rack is when the tent is mounted we don’t plan on adding any additional items to increase the roof load. The 3/4 rack fits the tent perfectly.
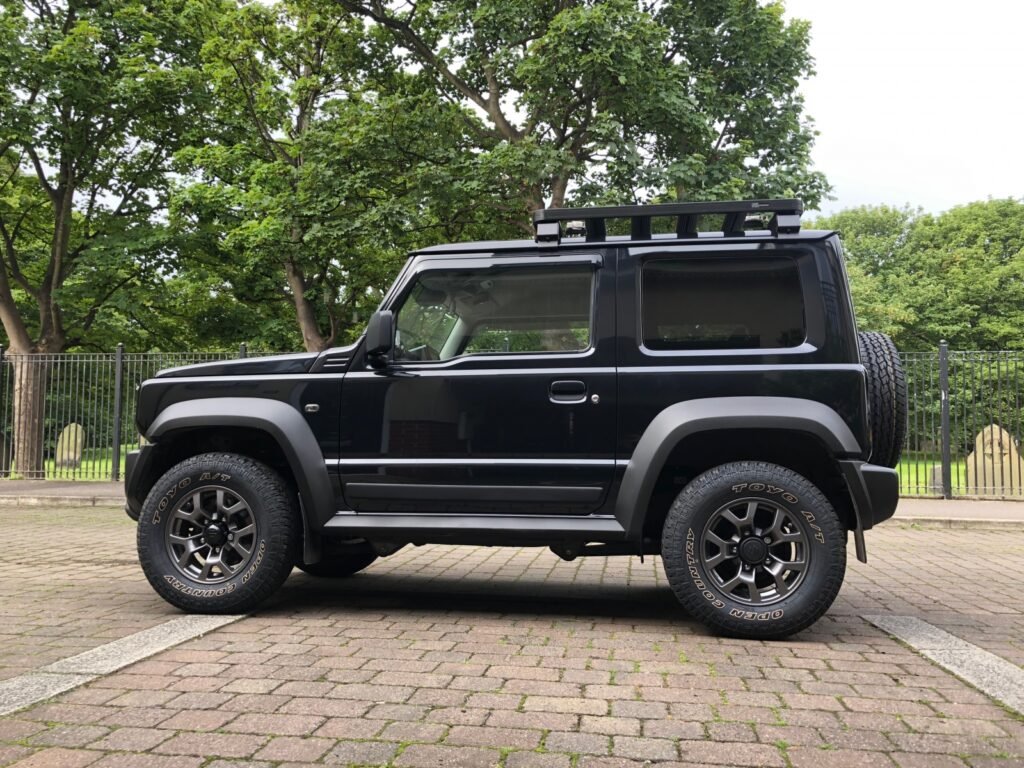
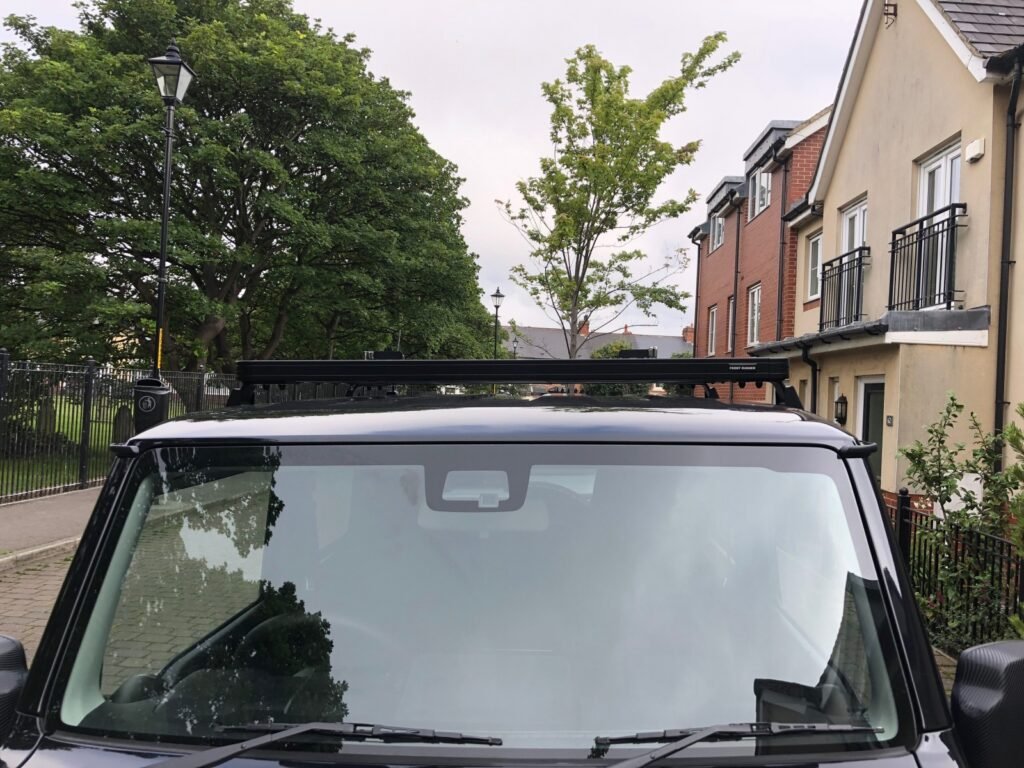
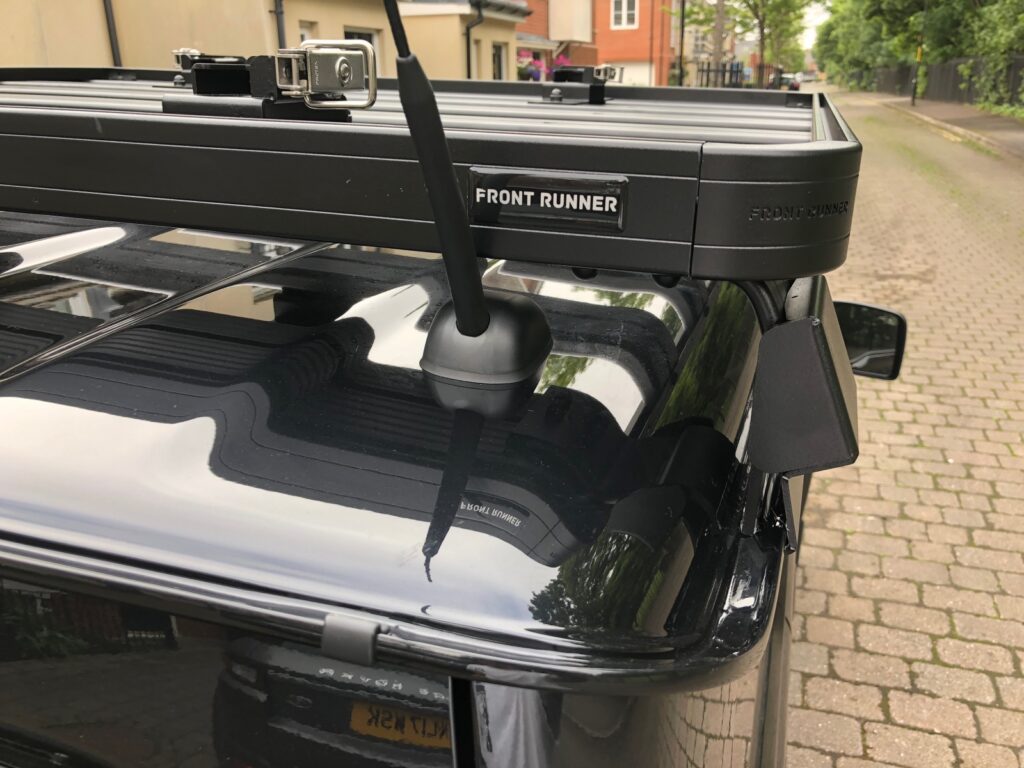
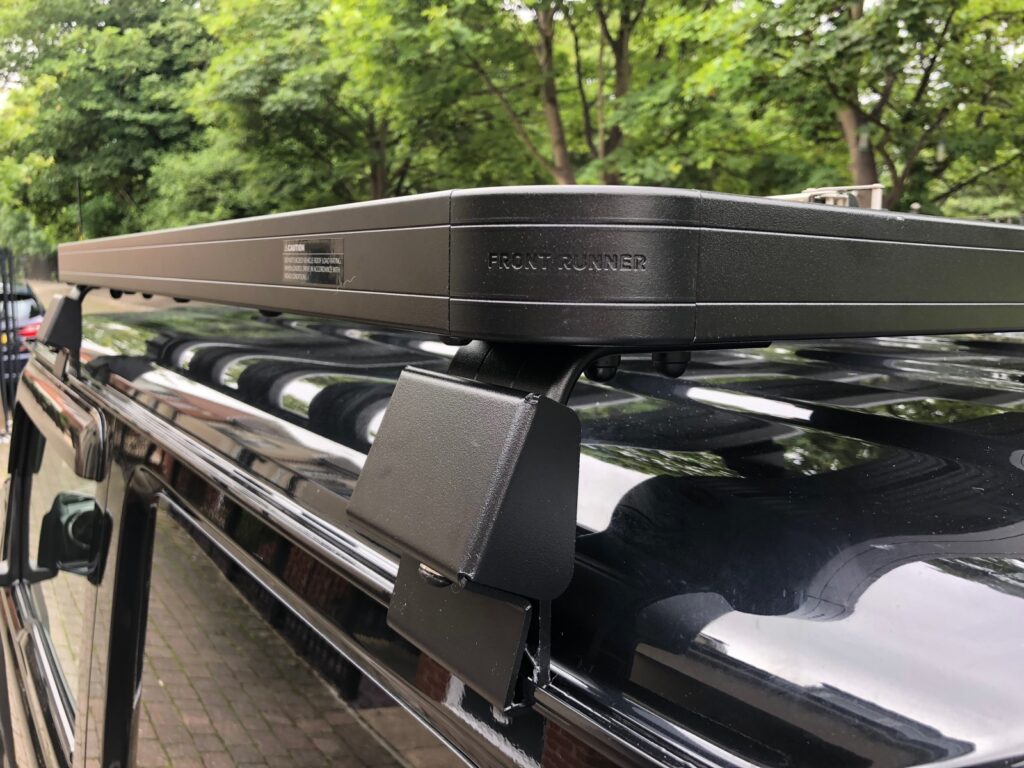
Fitting the tent to the rack we opted for the quick release tent mounts and in hindsight we would have simply gone for the normal front runner tent brackets. The quick release brackets add 30mm more to the height of the tent. This might not sound a lot but it does make a difference to the end result.

Quick Release Bracket Pros
- They save you time tightening 4 bolts up.
- Erm, can’t think of any others.
Quick Release Bracket Cons
- The gap created between the tent and the rack makes a very loud whistling noise once you reach 20 mph.
- They’re quite difficult to use in practice. As you’re trying to lift the tent above your head and lining up with the slots. This proved to be harder than we expected.
- Without the tent mounted the brackets locking mechanisms rattle like crazy in the wind. This could be easily remedied by using some shock cord or bungees to fasten them down.
- The tent rattles when we go up hill. Perhaps this is fixable too but it’s not how we’ve fitted them as it’s rock solid when I try to move it by hand.
The loud whistling is the deal breaker. Don’t get me wrong, I’m fussy and you may find your experiences different.
I’m confident that the lower profile normal tent mounts will be far better. They ought to still give us more headroom clearance off the rear of the vehicle compared to the Thule bar set up. We only need a few cm more to avoid me bashing my head. Every bit helps ?
The rack itself is superb. I can see why they’re so popular and the modular options and easy fitting system is quality! Very happy with it overall.
Comparing the weight of the Thule and Front Runner setup
I’ve weighed the parts individually to get a more accurate result.
- 3 Thule Square Bars and Feet = 10kg
- Front runner Slimline 3/4 Rack = 22kg
Improvements
- Add a wind deflector to help reduce drag further. Although I’m keen to keep the weight as low as possible.
- Remove 2 slats from the inside of the rack if you only ever mount a tent like we do.




Hello, I would like to know the total height of the jimny with empty slimline. Thanks
Hi Juan, it’s 69 inches (1755mm) from the ground to the top of the rack.
thanks!
Have you had any issues with the rack itself with noise? I’ve only got the slimline 2 mounted and it starts to make a vibrating racket at about 80kph. I haven’t added the deflectors yet though.
No I’ve had no rattle issues! The wind deflector was the wrong size but I wasn’t getting any wind noise without it. Same with it now installed, no wind noise unless I have the tent on. Managed to fix that though.
Wonder why yours rattles!? It’s a solid piece of kit maybe it’s defective.
Hi! Awesome set up!
I was wondering what attachment you used to install the darche awning to the slimline roof rack.
Thank you 🙂
Hi Amanda, It comes with 2 angle brackets. I’ve added a few pictures to the article for you ??
Have you ever considered about adding a little bit more than just your articles?
I mean, what you say is valuable and everything.
Nevertheless just imagine if you added some great graphics or video clips
to give your posts more, “pop”! Your content is excellent but
with images and videos, this site could definitely be
one of the best in its field. Very good blog!
Hey mate, this comment was stuck in spam for some reason.
I’ve been making videos for a few months now https://youtube.com/geordiejimny still learning and they’re mostly camping highlights but there’s some extra details on the mods I’ve been making to the Jimny too. Hope that helps.
Cheers
Paul
Hey, not sure if you realized it or not but you can mount the quick release brackets underneath the crossbars to reduce the height a little.
https://imgur.com/a/KrlymnX
Hey there, I didn’t know that, it’s a good solution for those with racks. I still think flat bed or canopy style trucks would make great use of the quick release brackets. The tent rattled when going up hill even though they were fixed tight but maybe the brackets I had were faulty.
I found that placing the tent up high on the roof then trying to manoeuvre into place was difficult. In the end I drilled holes direct in the slats and can drop each corner into place. This is the easiest method for us as with the 50mm lift, my wife has to wear heels an be on the curb to be able to reach up high enough on the side she holds.
The tricky part of mounting these tents on cars is being outstretched with such a bulky item 180cm high and trying to not scratch or dent anything 🙂
I had a garage with a hoist it would be far easier which is why I rarely remove it these days.
Hi mate,
Just after some advice. I’ve just purchased the front runner load bars. I’ve noticed the roof bar legs don’t seem to have any rubber protection when installing to the rain gutters, just seems to be bare metal that attaches straight to the cars paintwork. Did you do anything to protect the gutters from being scratched? Any help will be appreciated!
Cheers,
Matt
Hi Matt, yes I did add some paint protection to the feet and the bottom sections too. You’re right and I agree that FR should have some sort of paint protection on them to start with but unfortunately not.
I used a clear paint protection film initially and this ended up a bad idea as it wasn’t creating enough friction.
I’ve since bought strips of thin, high density rubber and cut it into sections to help stop the load bars digging into the paintwork.
So far it’s holding well. Even so, I’d be hesitant to recommend any products or solutions as I am working from the experience of one sample!
I did search online trying to find what other people have done but didn’t find much other than using anti vibration materials.
One tip I can safely offer is making sure you seat the feet on the inner lower part of the rain gutters and not the outer part as that dents the finish.
Hope this helps, if you find a good solution yourself I’d be keen to hear about it too.
Cheers Paul
Thanks Paul that’s helpful, as I didn’t find much online either. I’ll try the rubber strips too, but if I think of anything else I let you know. I was thinking maybe felt strips but there’d be more chance of them slipping. I’ll seat the feet as you say too. It’s strange as at the inner higher part of the gutter there seems to be a rubber strip like it was made for rack feet to sit on!
Thanks, Matt.
it’s on sideways … that’s why its noisy. turn you rack 90 degrees
It was on right buddy https://www.frontrunneroutfitters.com/en/uk/vehicle-specific-gear/suzuki-jimny-2018-curr-slii-3-4-roof-rack-kit.html I don’t use it anymore though. Just the load bars 🙂
I had the same rattling problem. I found the problem was with the silver bushings that you mount on the tent. You have to most likely slide two of them up in the track a bit.
Interesting! Not tried it as I don’t use the rack anymore but useful for anyone stumbling across this post. Thanks Austin.
Hi Paul,
thanks again for your links to your blog. Love how you stay in contact and react on other Jimny mates questions.
I read this blog but what I don‘t understand is why you decided for a rack of 20k instead of using frontrunner loadbars with 7k?
https://www.frontrunneroutfitters.com/en/uk/suzuki-jimny-2018-curr-load-bar-kit.html
Hi Patrick,
Glad the blog helps 🙂
This is an old blog and setup the rack didn’t last a few weeks before I changed to using load bars only. This is my current setup https://geordiejimny1.wpengine.com/suzuki-jimny-ultralight-roof-tent-set-up however I have increased the weight by changing the awning recently.
Cheers
Paul