Mat options in the UK are very limited. The deeper dish mats are a preference for me as when camping it does not take long before the car is filthy. Having searched for a long time to find something suitable that was not too highly priced I settled on the C.L.Link 3D mats from Japan.
I’ve been running the OEM Suzuki rubber mats since buying the car in 2019 and they are excellent. They are just too shallow to keep mud and water from spilling over the sides onto the carpet. If they were a bit deeper with more floor coverage they would easily be a top choice for the Jimny. They’re very easy to clean and still look 4 years later. You can see in the photos how little the sides raise up and some portions or the drivers footwell are not covered at all.
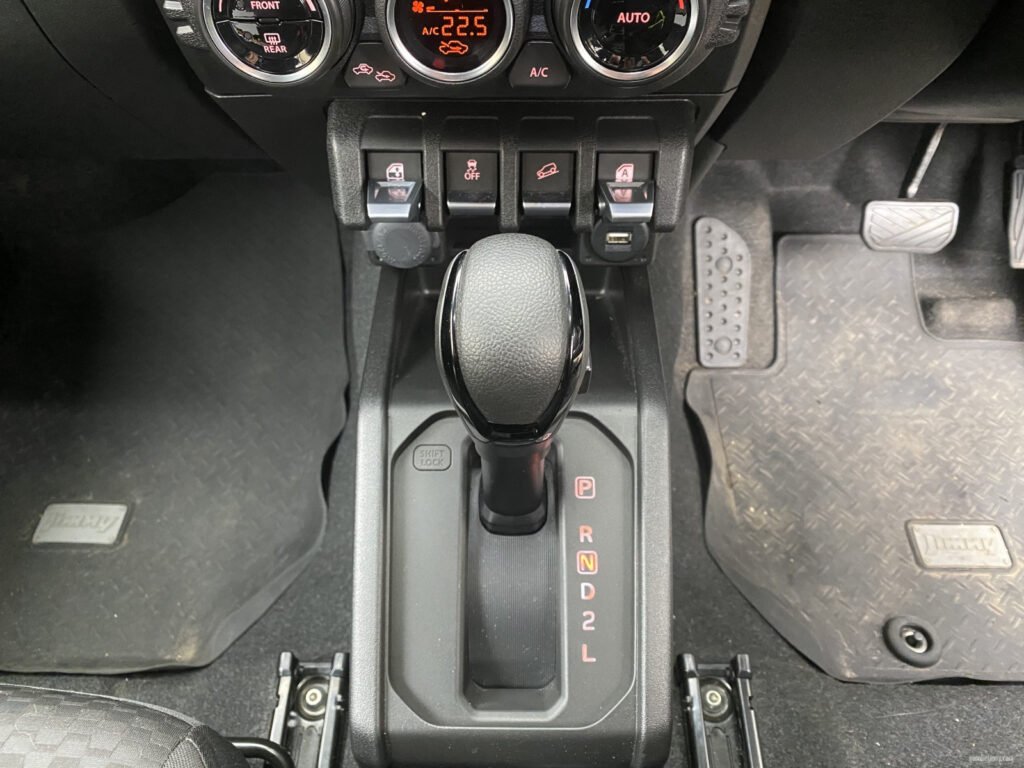
However, the coverage is not big enough. The Suzuki carpet is a pain to clean, almost acting like velcro so I’m hopeful the deeper sides of these new mats will help.
Fitting
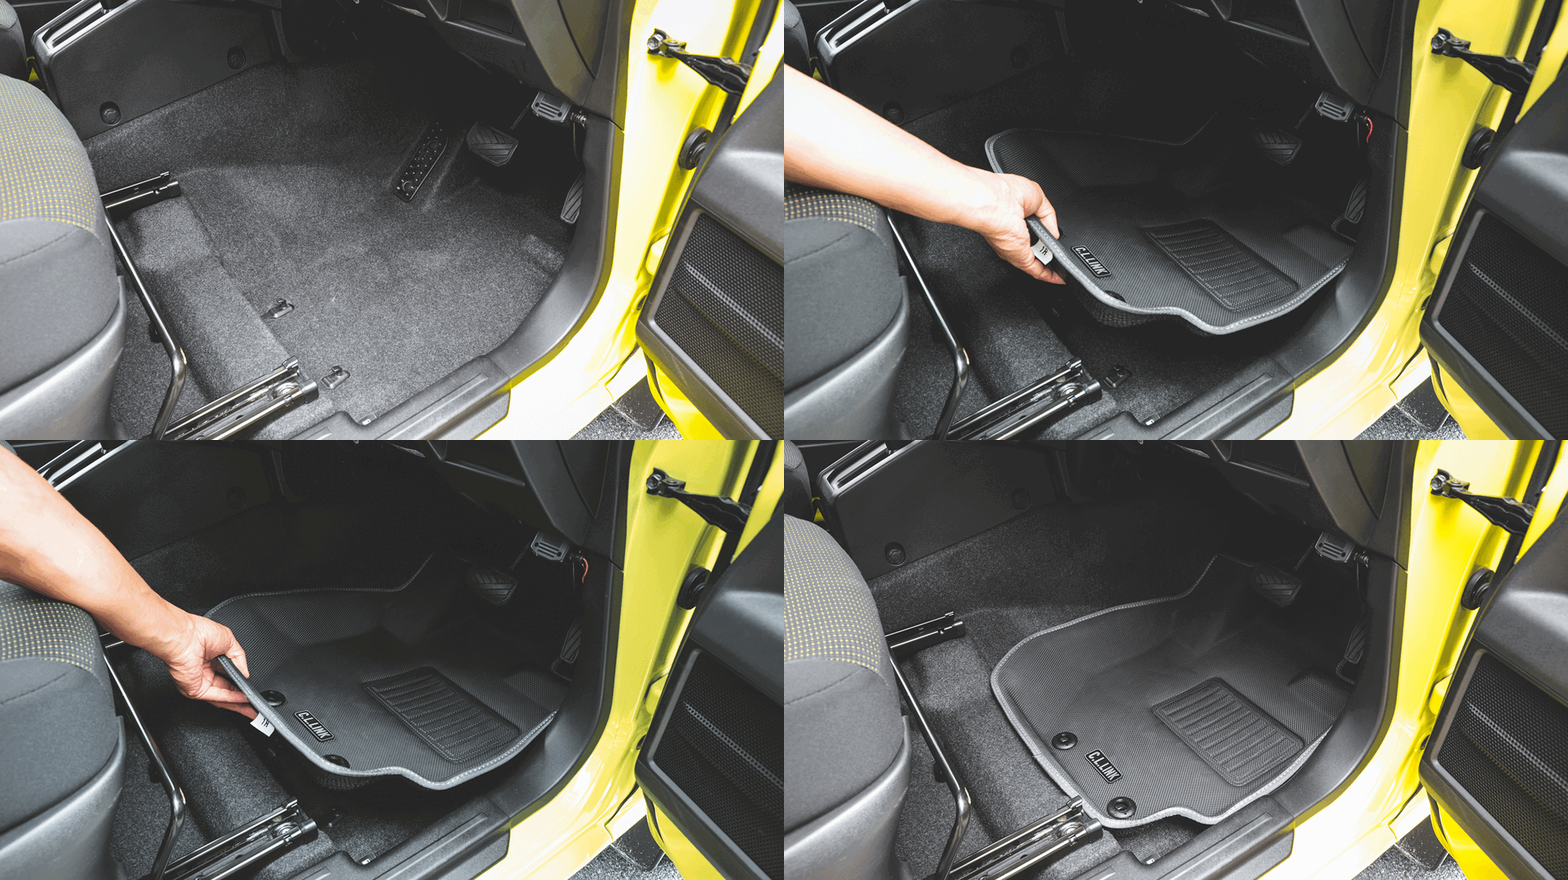
Fitting is obviously simple, you just drop them into place.
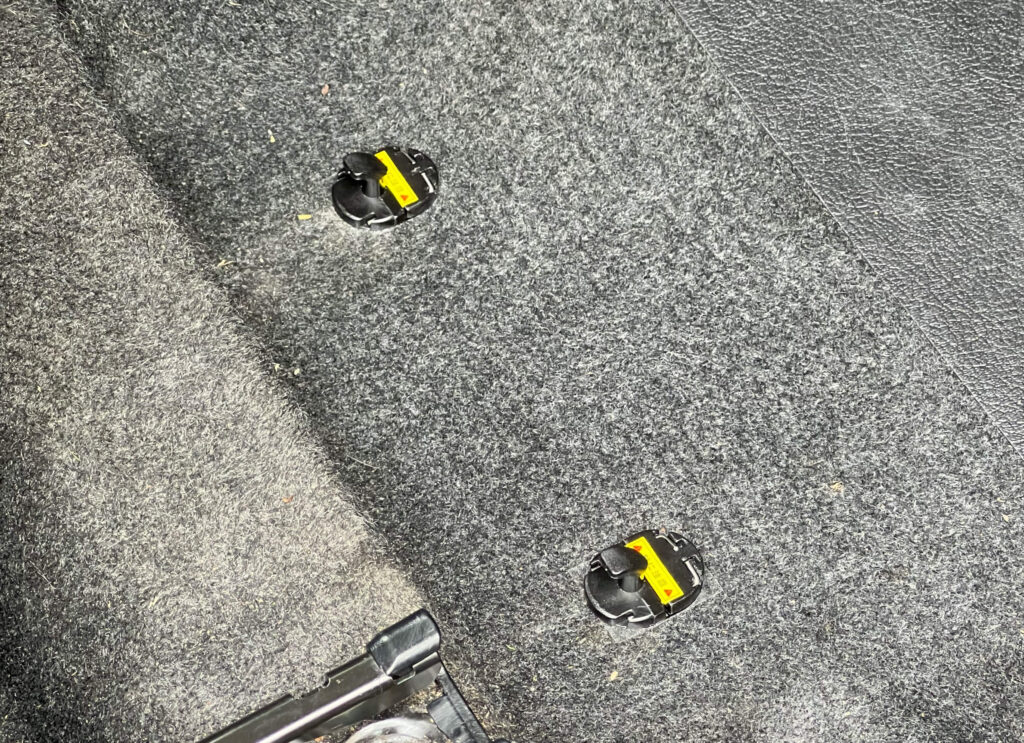
They supply 2 clips to install in the drivers footwell. It looked like I did not need to use these as seen in the image above, the OEM clips that come with the car are used. I found them a fraction misaligned pushing the mat too close to the seat but I’m sure it could have been wiggled into place. Whether these OEM clips are standard on all cars I’m not certain. Therefore I thought I’d share the instructions for installing the clips that they supply. It does not take long.
The instructions were in Japanese so I used an app to translate them.
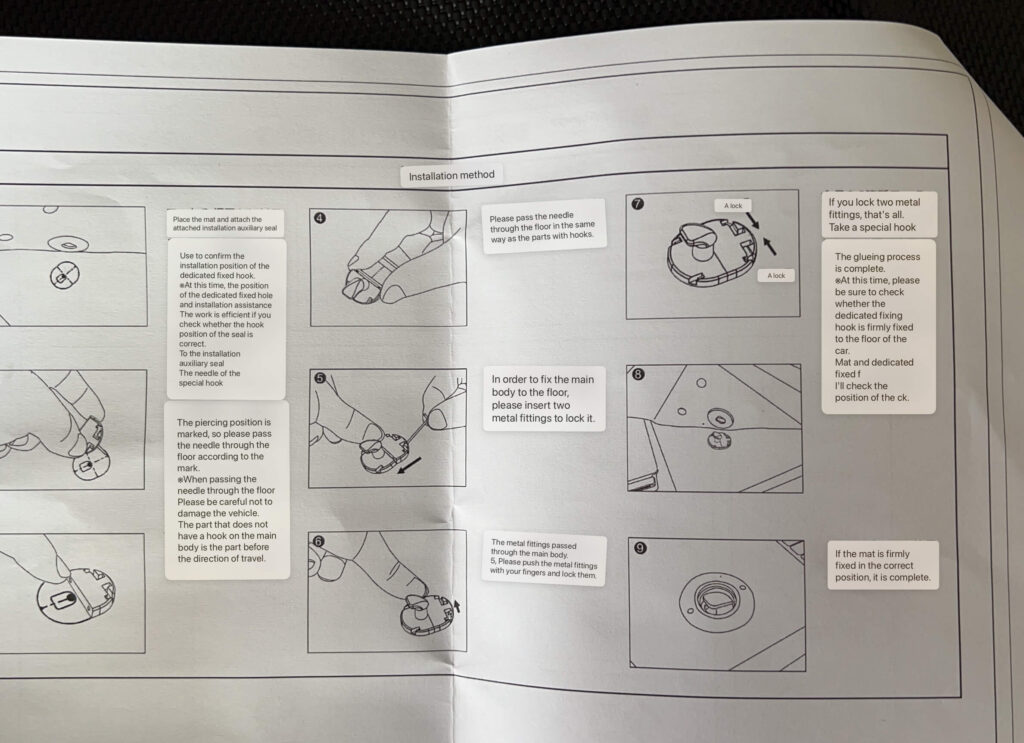
Step 1
Place the mat into the car and mark where the holes are. I used some sewing chalk.
Step 2
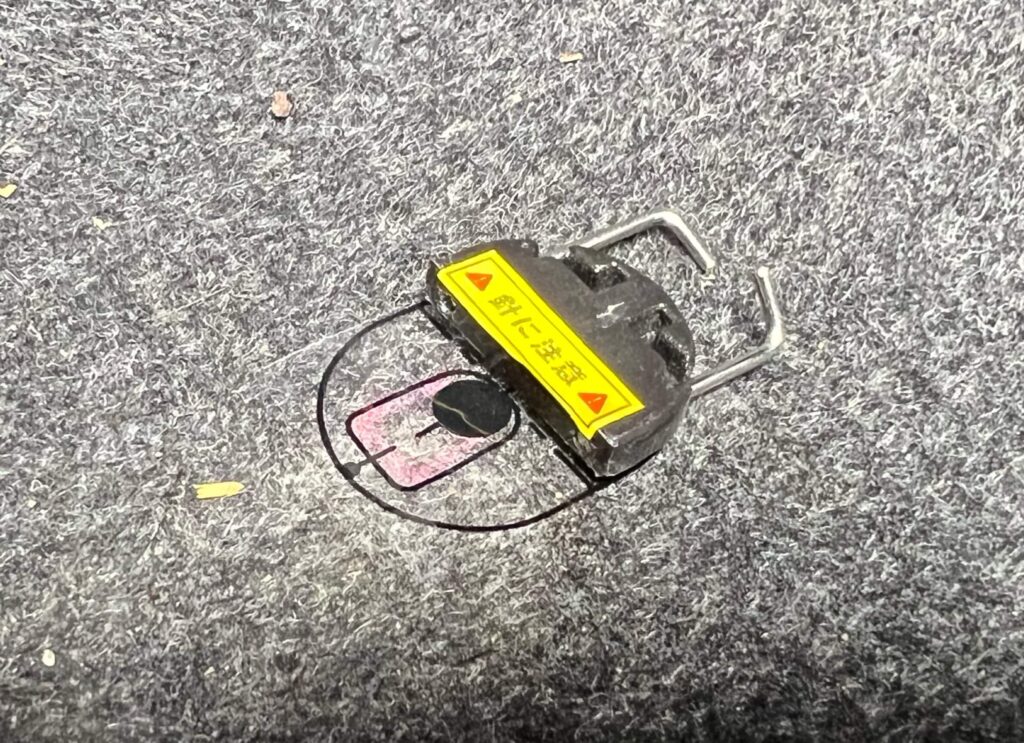
Use a small screw driver to lift the metal clips that keep both sides of the black plastic clip together. They lift up and slide out allowing you to separate the main clip into 2 halves.
Step 3
Push the pointed end of the half without the hook attached into the carpet as seen below. You can see the little black circles that help you locate exactly where to push the point into.
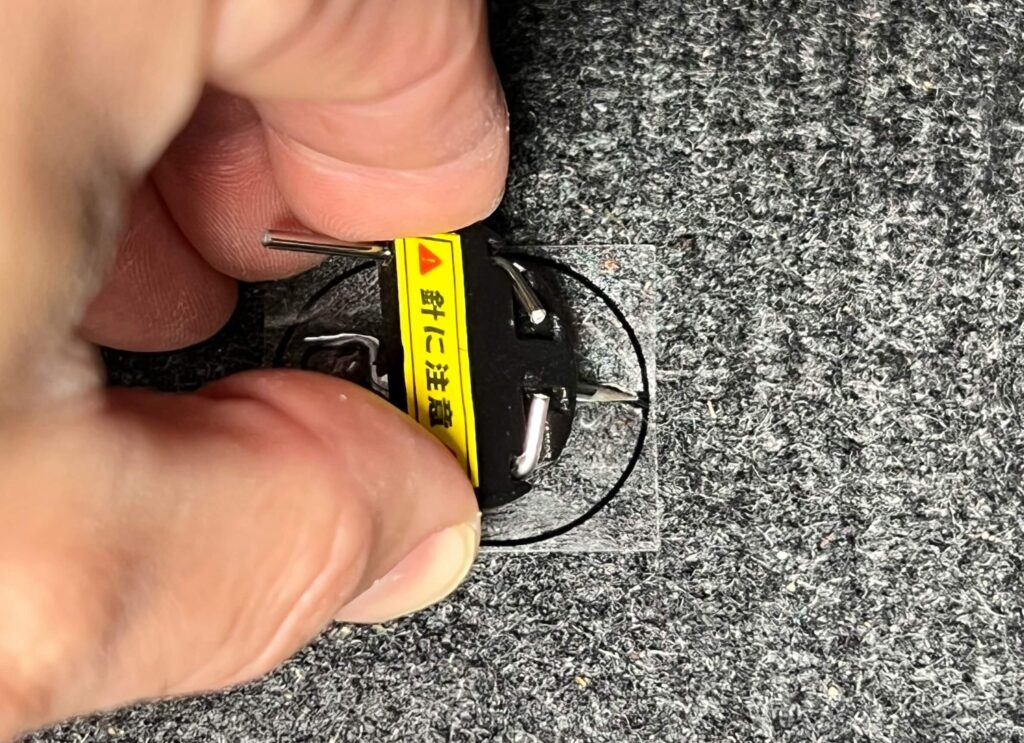
Step 4
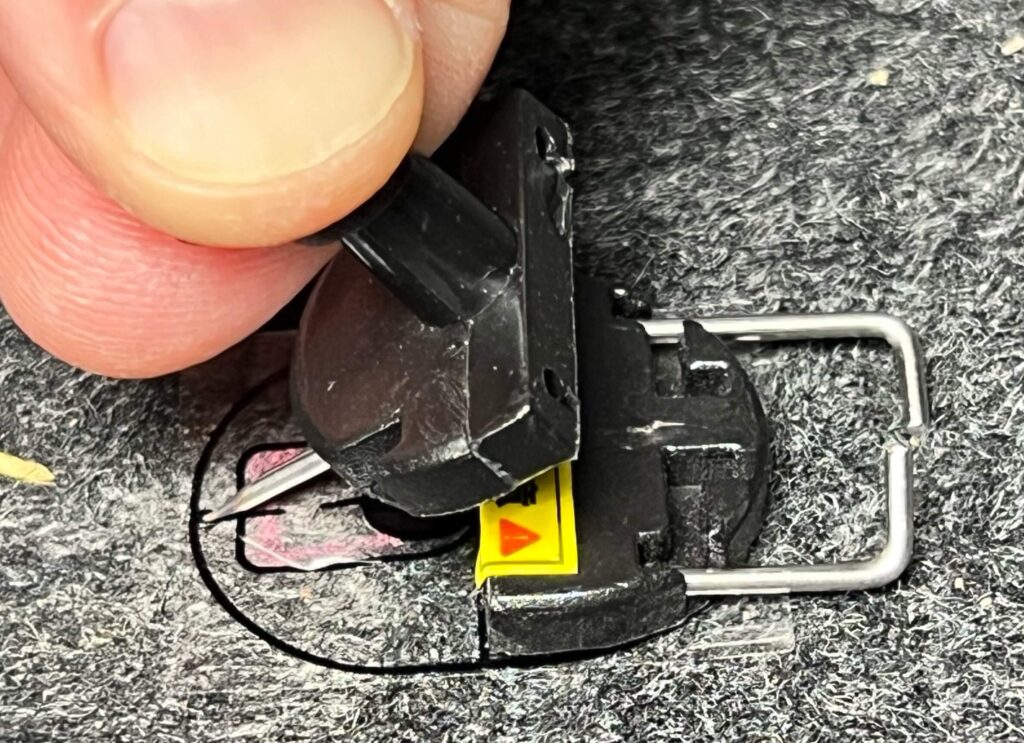
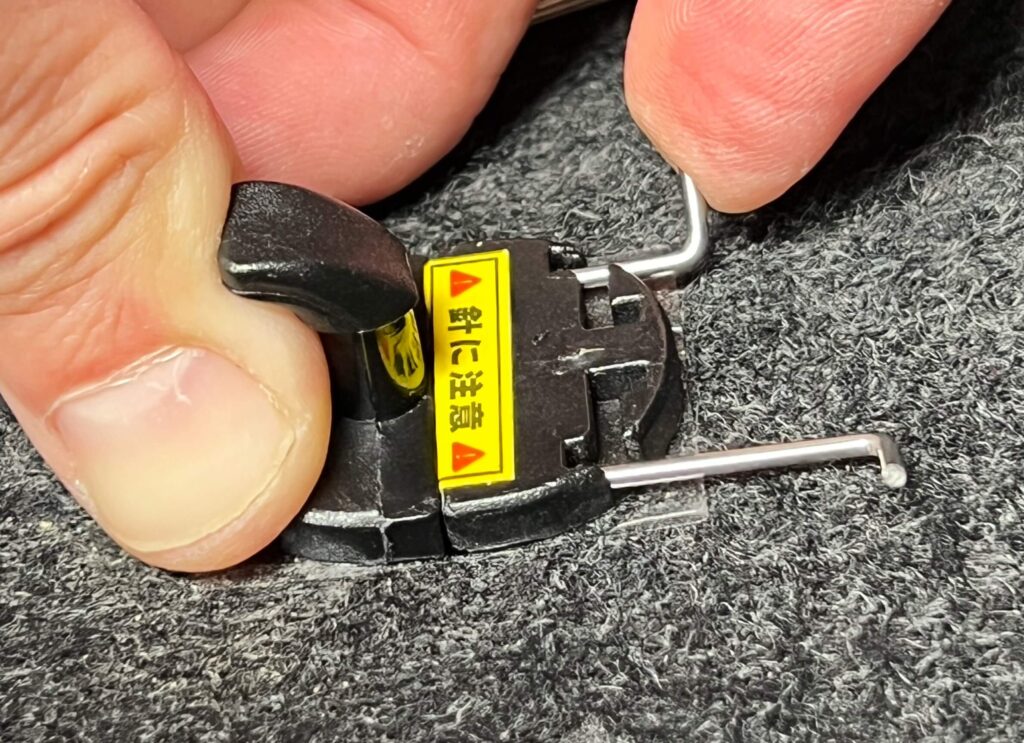
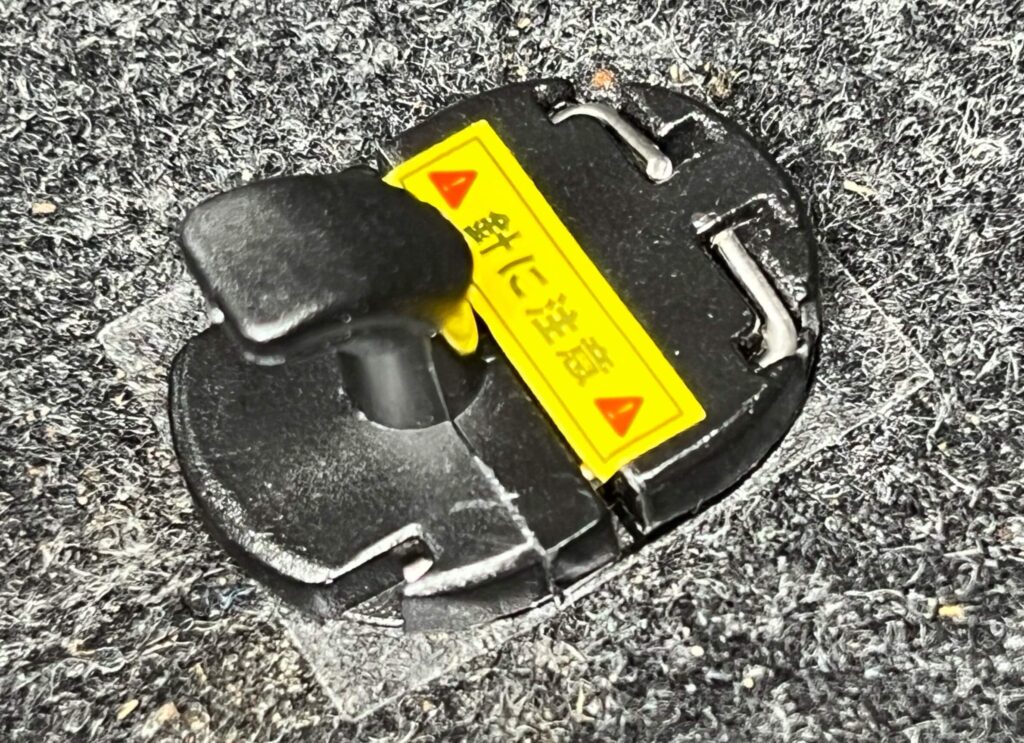
Push the other half into the carpet, then slide the metal clips back into place locking each half together.
Step 5
Repeat for the second clip and you’re all done. The mat slots into place. You don’t need to do this on any of the other mats.
How they look
I would have preferred to have no logo on them but the overall style is fairly simple and do not stand out as much as other mats I’ve seen. That was one of the things I liked about the rubber OEM mats they don’t stand out too much.
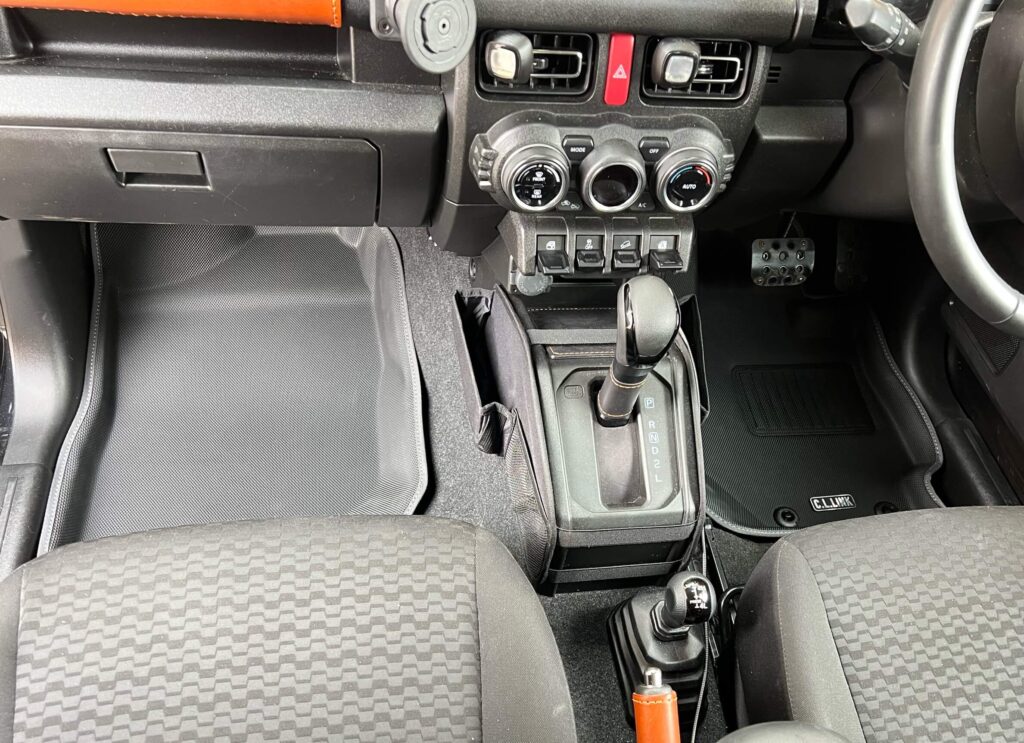
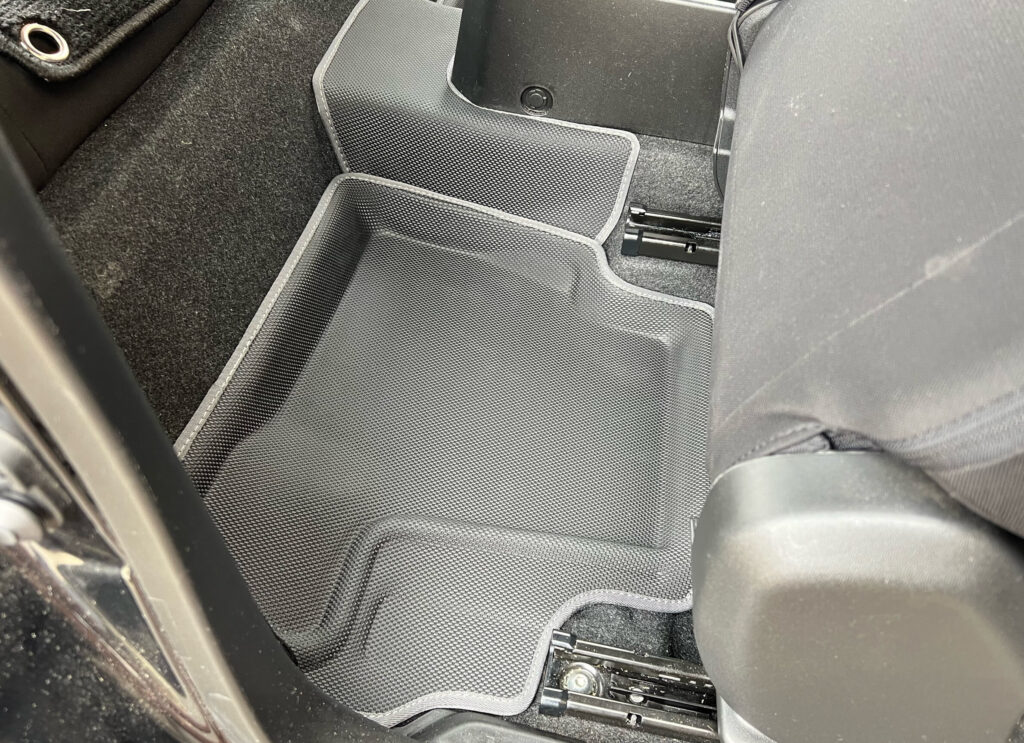
They’re at least twice as deep as the OEM mats and cover more of the floor and some of the side plastic trim.
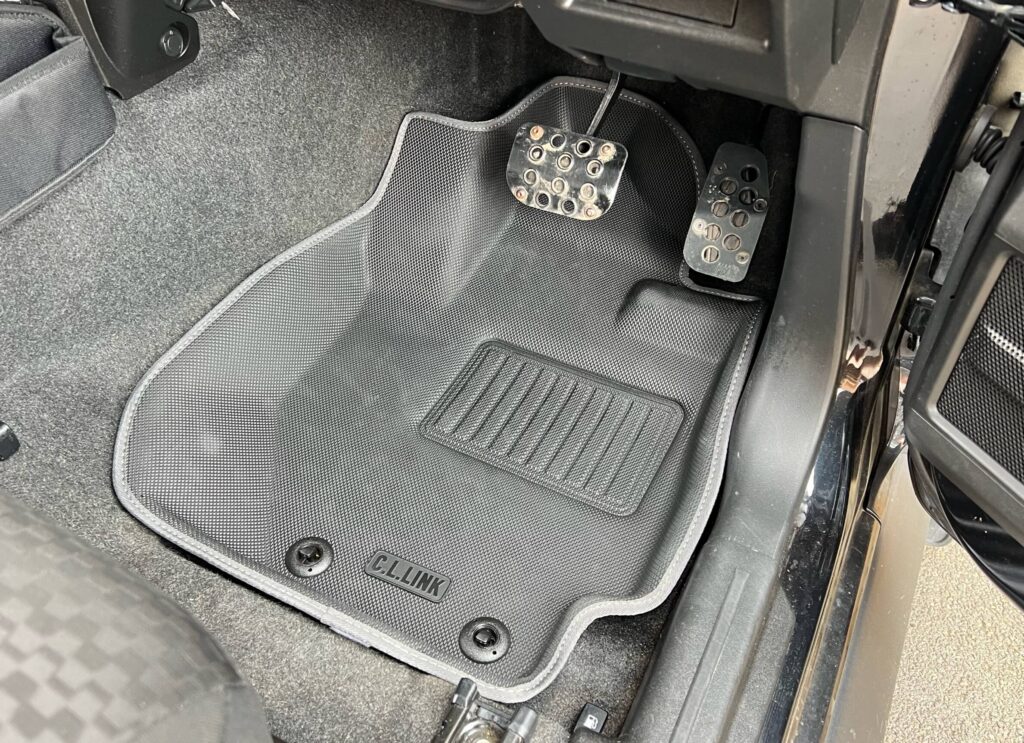
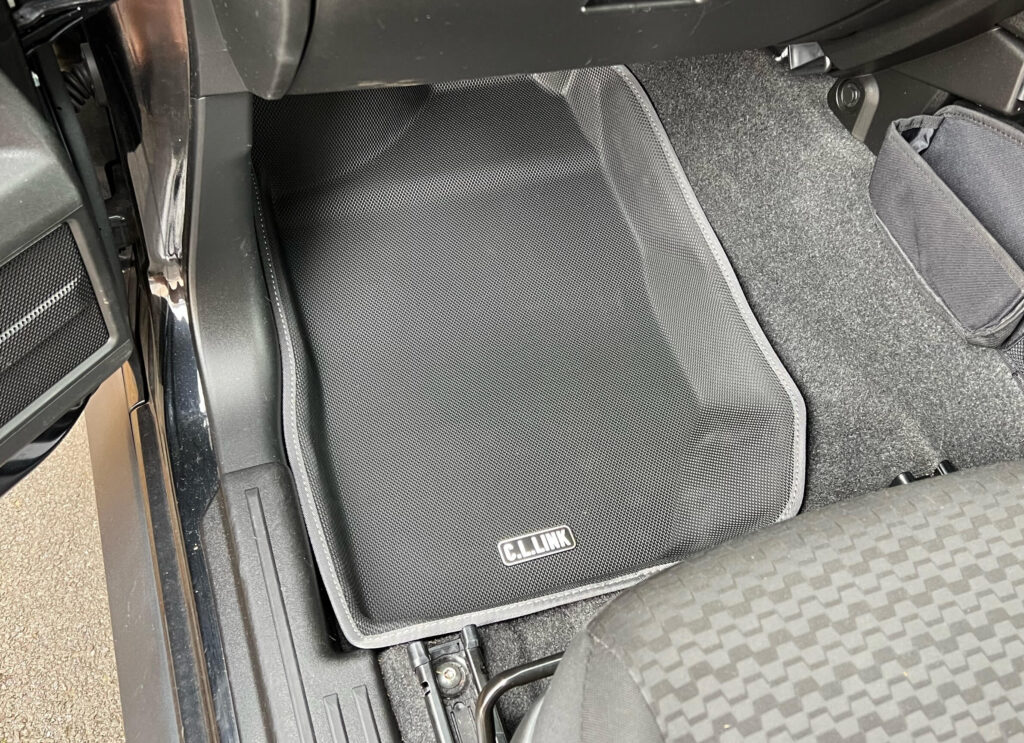
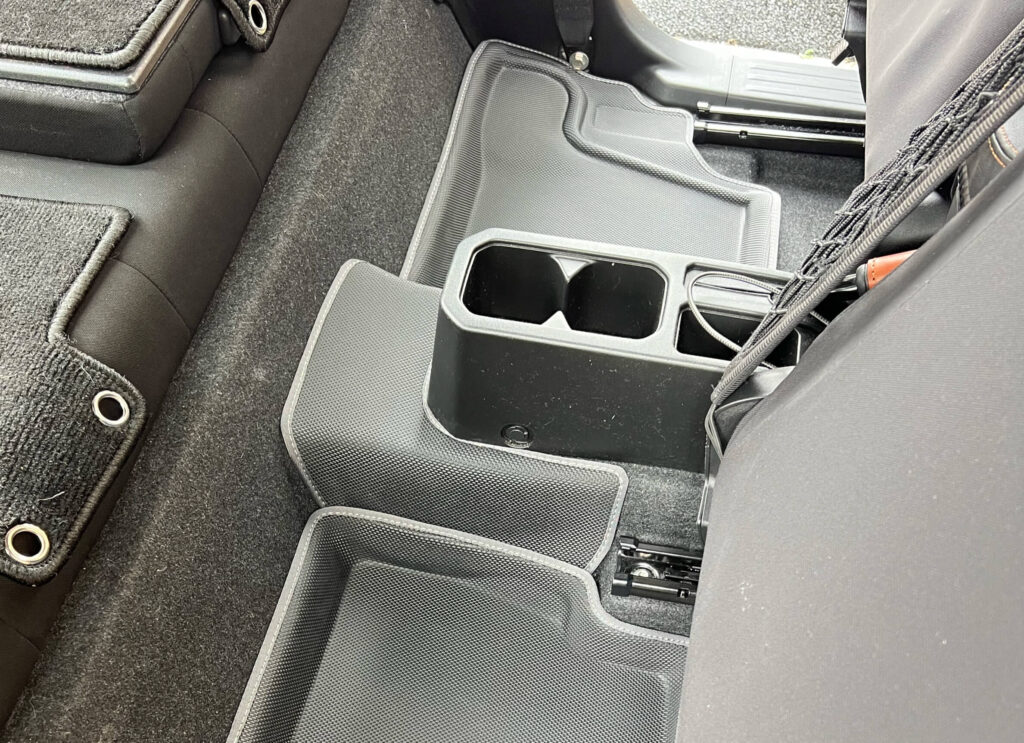
The rear mats are a lot better than the OEM rubber mats as they cover a lot more space including the raised centre.
Verdict
Coverage is better, they fit well and the material looks to be durable and easy to clean. Whether they’ll last as long and hold up as well as the OEM rubber mats, only time will tell.
They do feel a little spongy under foot. I’m not sure I like that. However I’ll reserve judgement until after some time using them.
Price wise they’re good value costing around £90. To get them sent to the UK I had to pay a small agents fee from the website I purchased them from and almost the same price as the mats for shipping. That’s doubling the price which sucks. Unless JimnyStyle sell them you’re out of luck when it comes to getting Jimny parts from Japan or Australia. Shipping is so expensive.
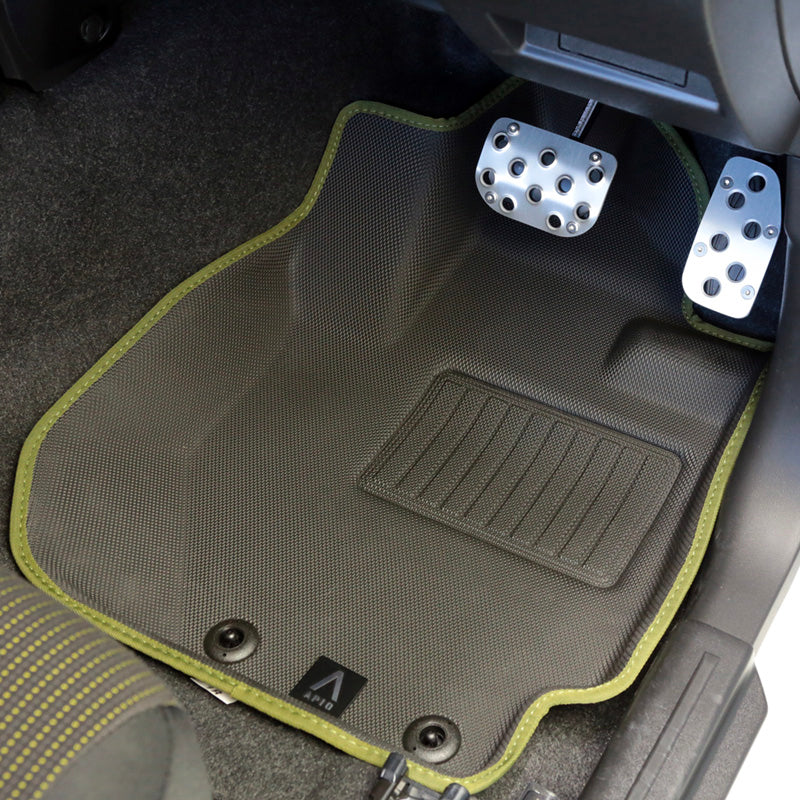
An alternative option in the UK is the APIO mats from JimnyStyle. A bit too pricey for me for the full set. They have had a significant price drop recently. I’ve seen these in person and they’re a superior quality. Definitely prefer the design and branding on the APIO mats too.
Hope this blogs helps. Thanks for reading.


