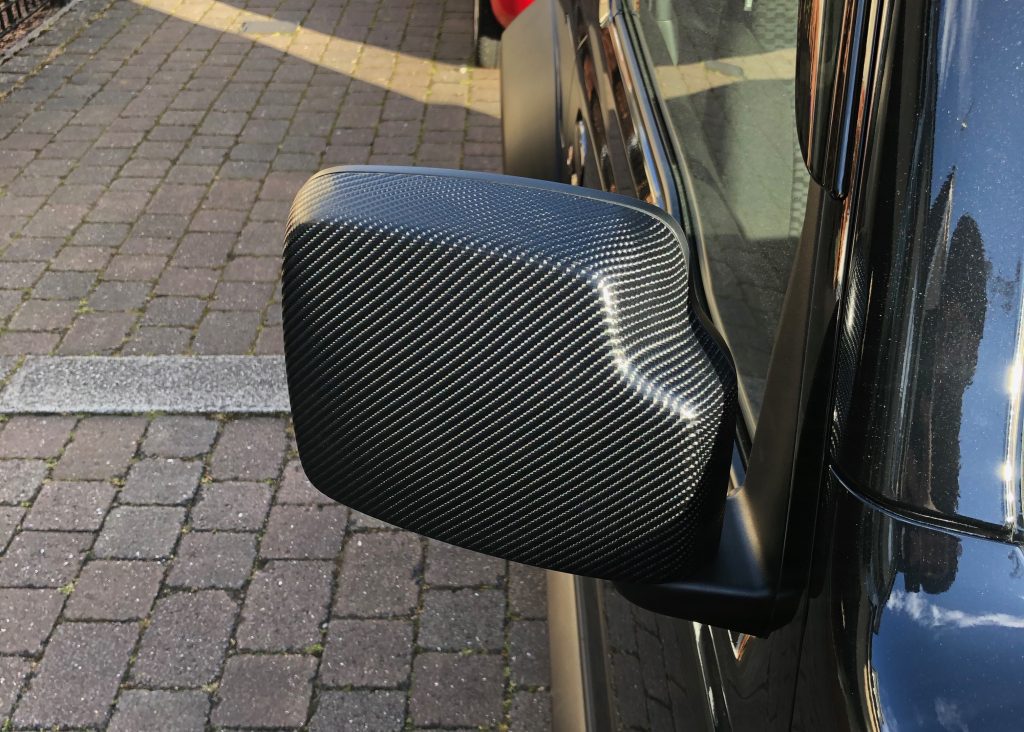
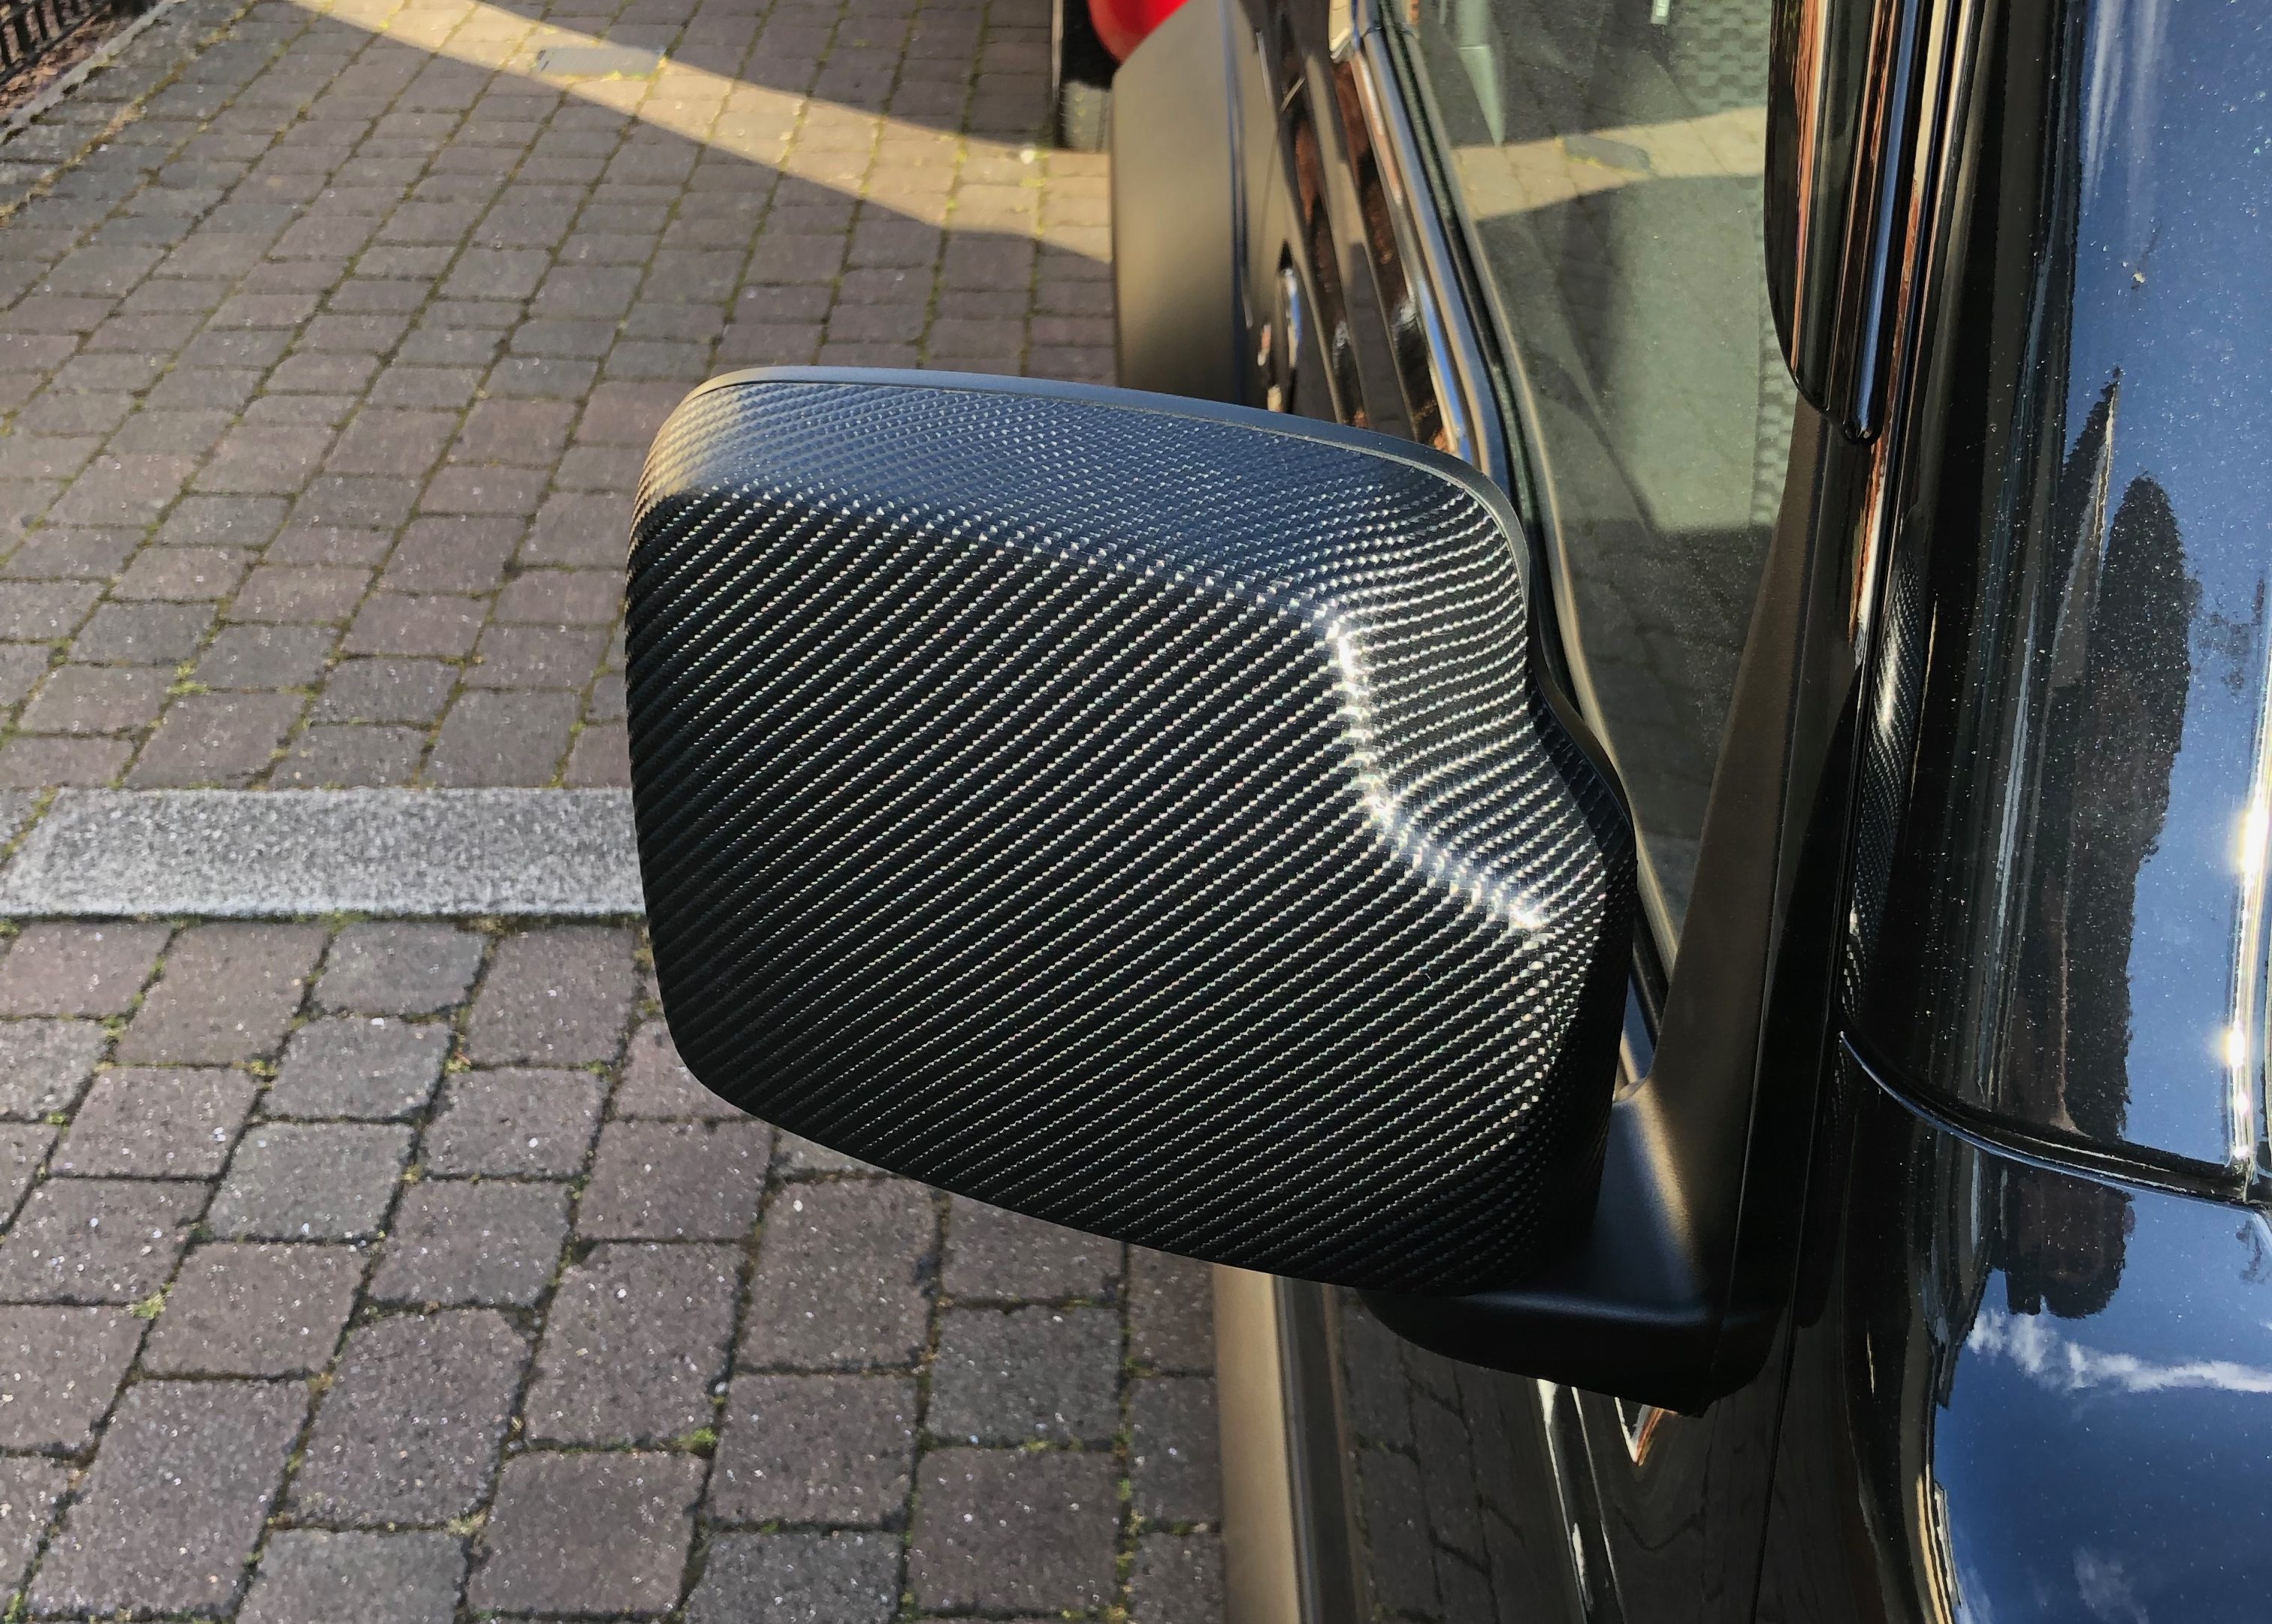
This was one of those jobs where you regret starting it an hour in then really starting regretting when you’ve got one side done. What a ball ache. Anyhow, what you’ll need for this utter shit show of a job is:
The Vinyl Wrap. You can choose all sorts of different looks, shop around if you don’t like this style.

Car Wrapping Tool Kit. The Mini hand square squeegee I used way more than the other 3 tools.

Hair Dryer or Heat Gun. The cheapest heat gun I could find was around £20 so I didn’t bother buying one. I can’t see myself using a heat gun for any future projects. My wife’s hair dryer did the job well enough.
Removing the wing mirror covers
The wing mirror covers pop off with a little persuasion and inner panic when you hear the horrible popping/snapping sound as the clips disengage. I used the tool below from the wrap tool kit to help remove them without damaging anything.

Note: Be careful not to snap the small inner lip that surrounds the inside of the cover by dragging the tool along each edge to prise them off.
I watched a bunch YouTube guides. Actually wasted half a day on this! This video covers everything you need to know.
The corners were a pain to get to sit nice and not be full of little folds in the vinyl but eventually they took shape. I did the first side sitting in my tiny work shed and it was like a sauna by the time I finished. The second one I did in the house with a bit more room to breathe. The second one ended up with better finish but it took longer to do. The top corners of the wing mirrors proved to be as frustrating to as the first side.
Would I do them again? No.
Do they look decent? Yeah, I think so!
If you have plenty patience it’s not as bad as I’m making it sound and I have to admit I do like how it looks now it’s finished.


